[!DISTURBING!] A Self-made “premature birth” Zombie Costume
We had lots of silicone left. This is why most of this costume was made with silicion. You maybe can replace it with something similar….like liquid latex maybe.
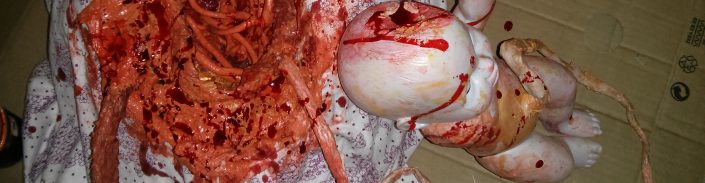
My SO prouldy presents…..The final result.
Please scroll down for details.

Our friend called for a costume party and set the theme to horror/zombies. Yeah, somehow extremely popular these days. A bit of browsing through google images results we came up with that mix of various impressions.
Things needed:
- Silicone (grey)
- Silicone (beige)
- more Silicone :)
- baby doll
- cling film
- polyurethane foam
- spray bottle (water)
- old newspaper
- wallpaper paste
- balloon
- spray paint (mate black)
- spray paint (shiny bright red)
- spray paint (shiny dark red)
- spray paint (grey)
- old maternity dress (or any old dress thats too big)
- bandage
- food colouring (red)
- food colouring (skin colour)
- food colouring (white)
- fake blood
- liquid latex
I did not take pictures of the whole process but i will try to explain the main steps.
A. The pregnant belly
- Inflate the balloon to about the size you want the belly to be. Later we will cut a decent hole in it hence it should not be too small.
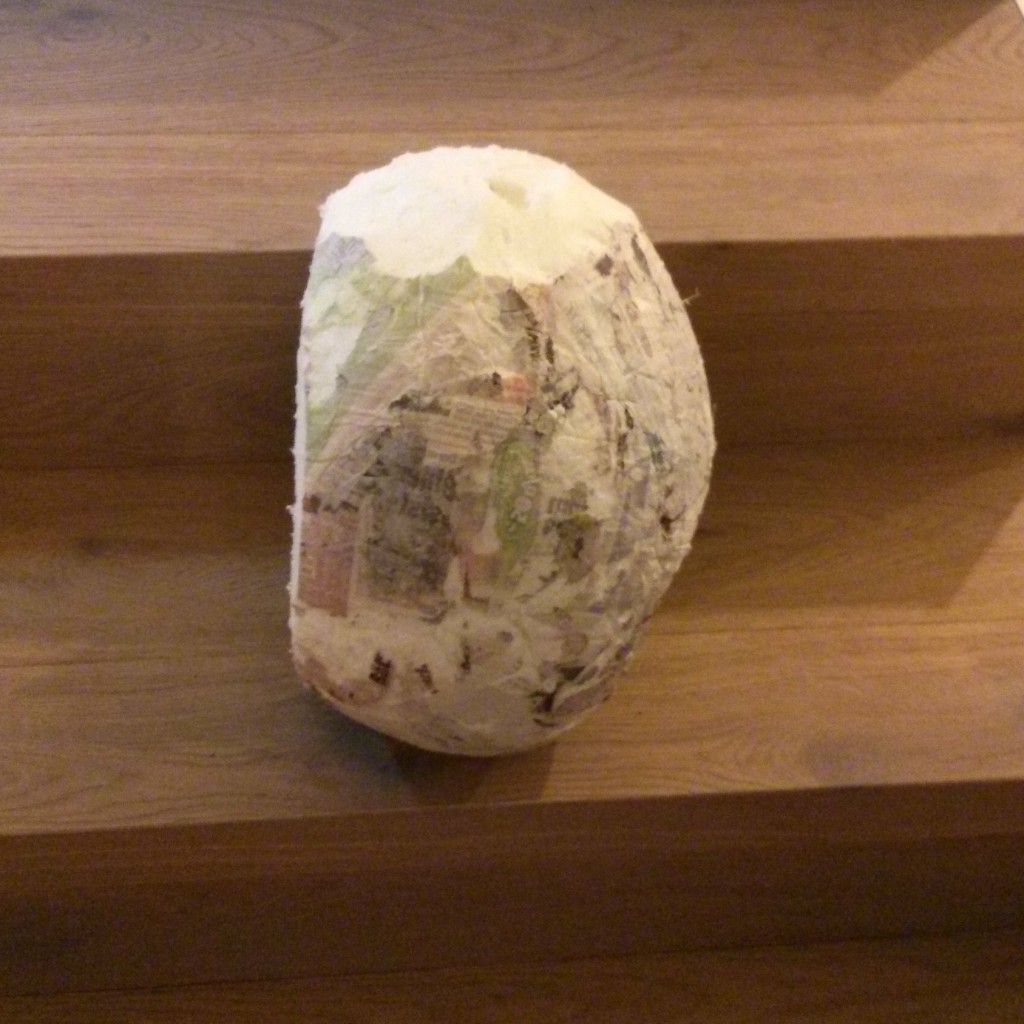
- Tear the paper into strips of a few centimeters wide.
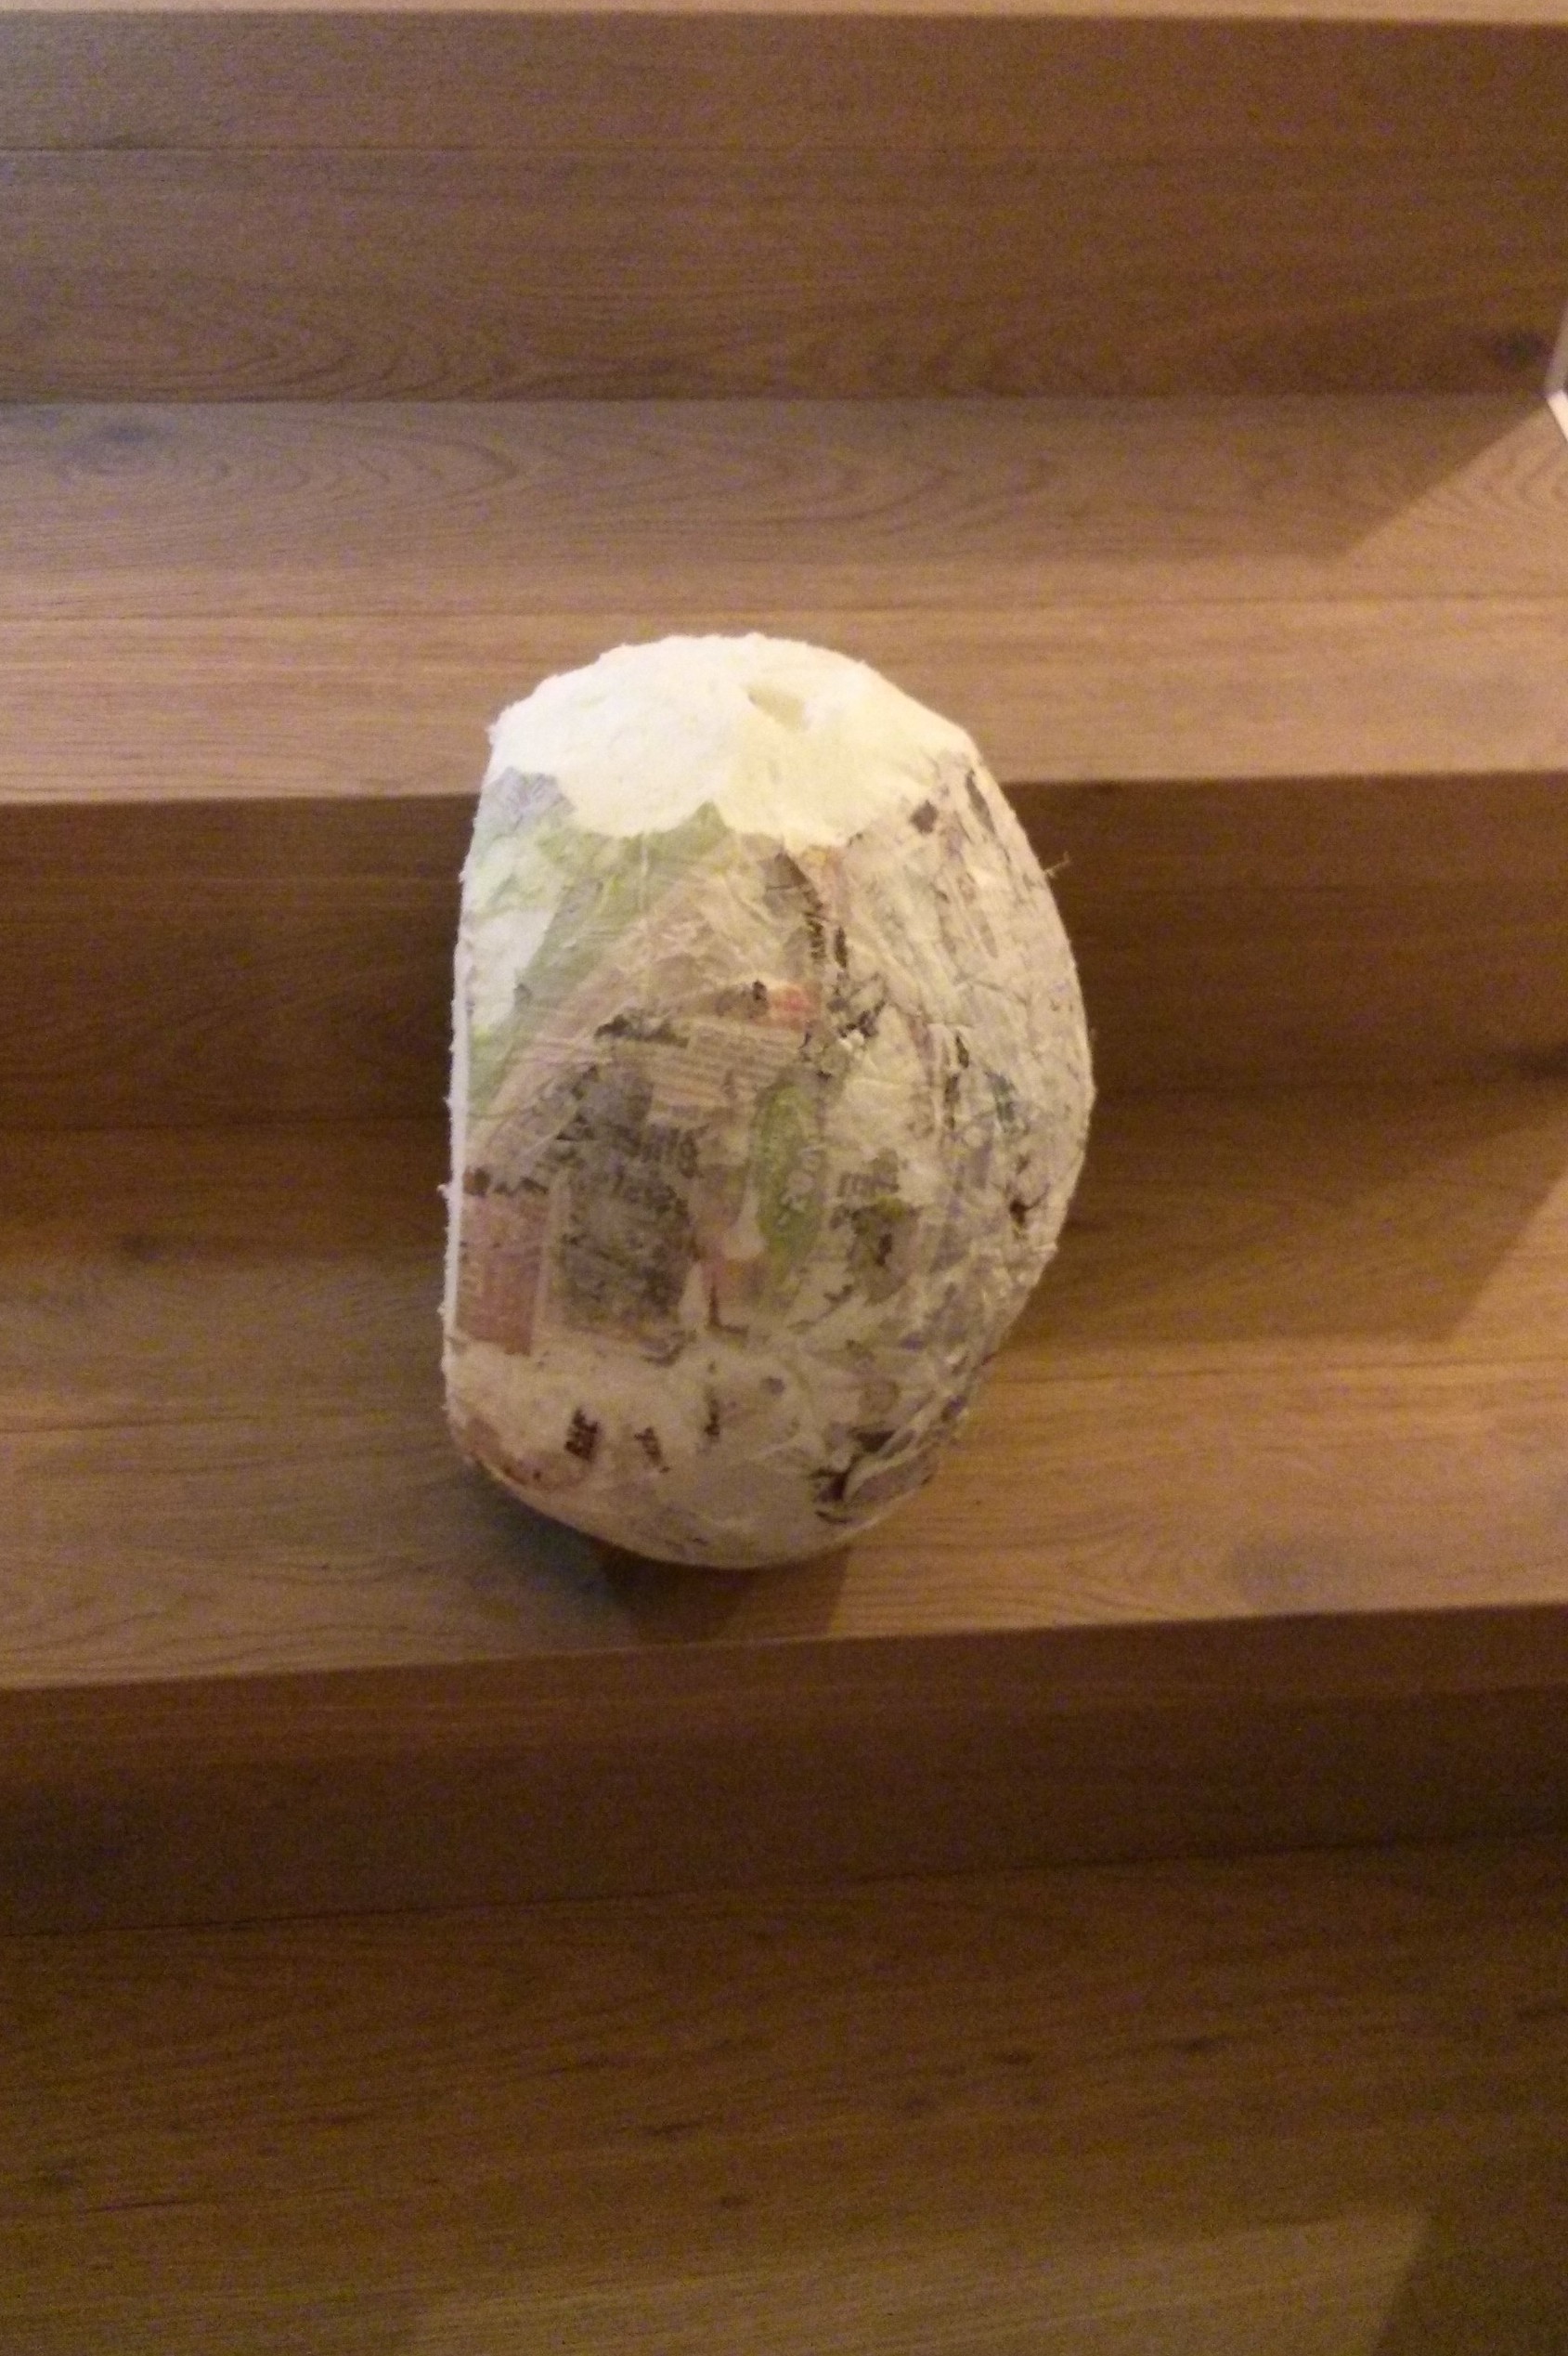
- Cover the paper strips in wallpaper paste and put it around the whole balloon until it is all covered in paper mache. The outside surface is not important as it will be removed later. Pay more attention to creating a really thick hull. A short video i quickly looked up showing the process: Youtube – How to Make a Paper Mache Bowl
- Let this dry for a few days.
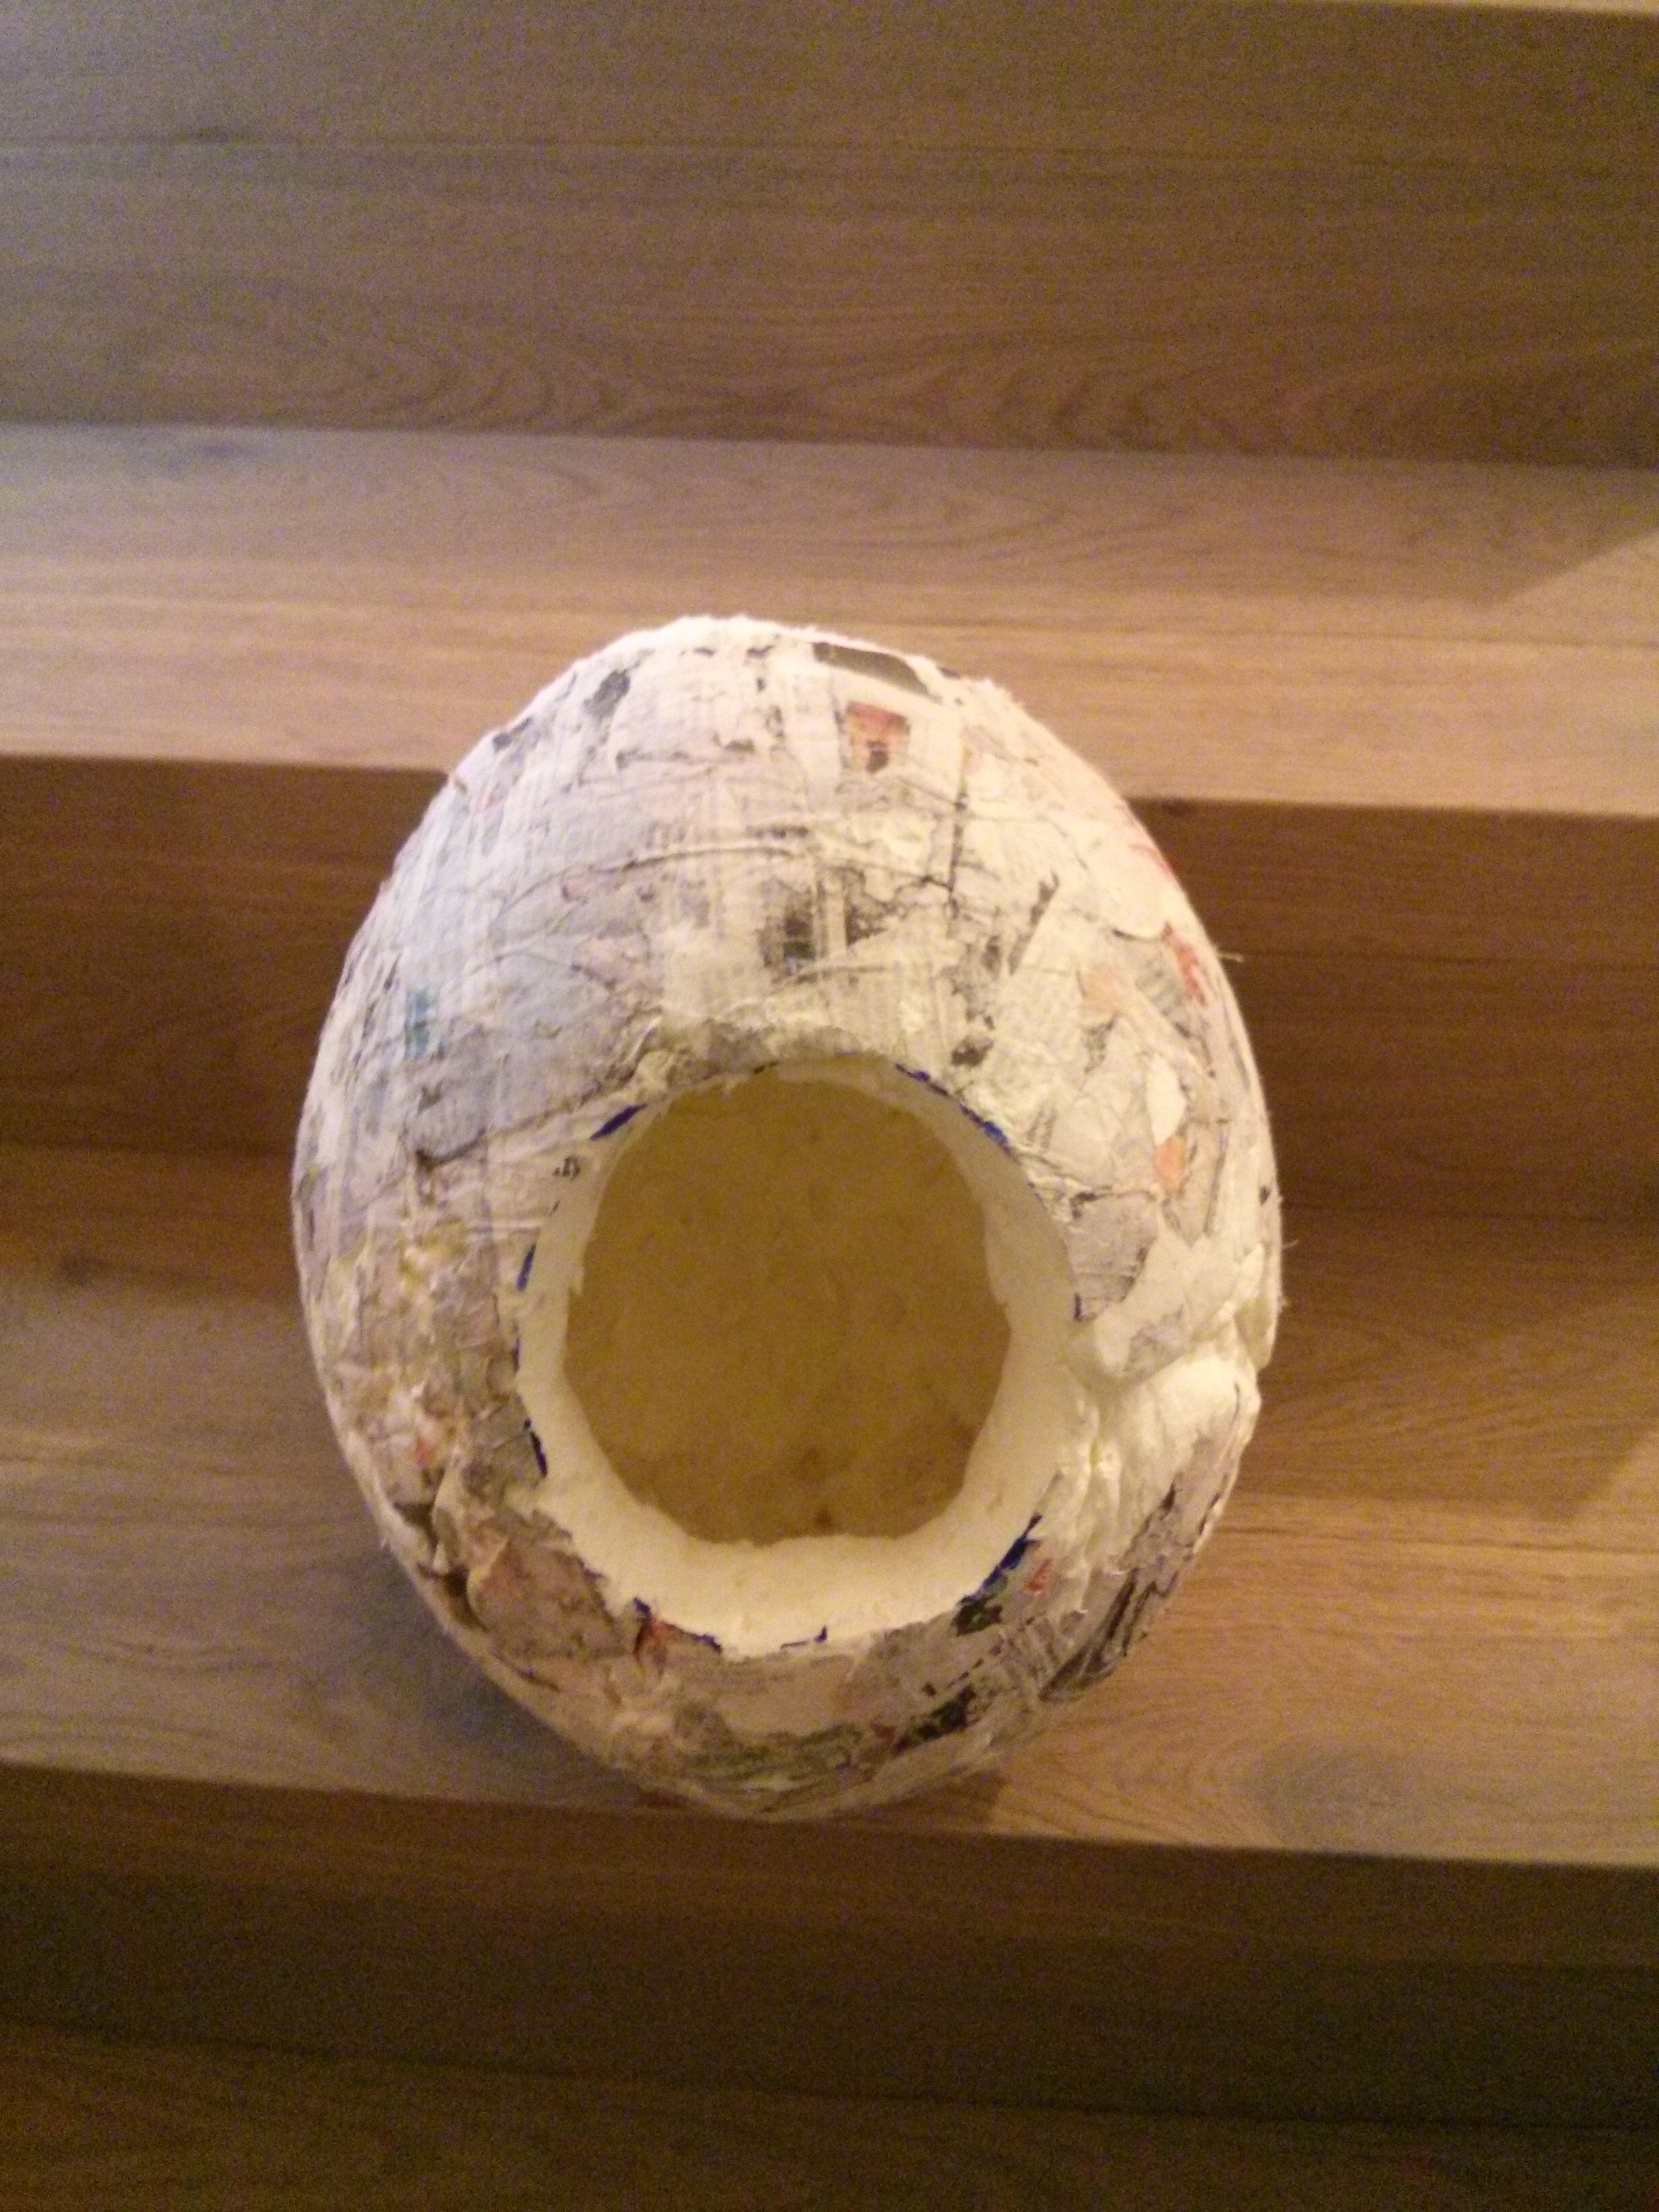
- Cut off the very narrow side of dry hull. Remove the balloon so we end up with a hull made of paper mache. On the top (narrow balloon end) an opening of min ~10cm.
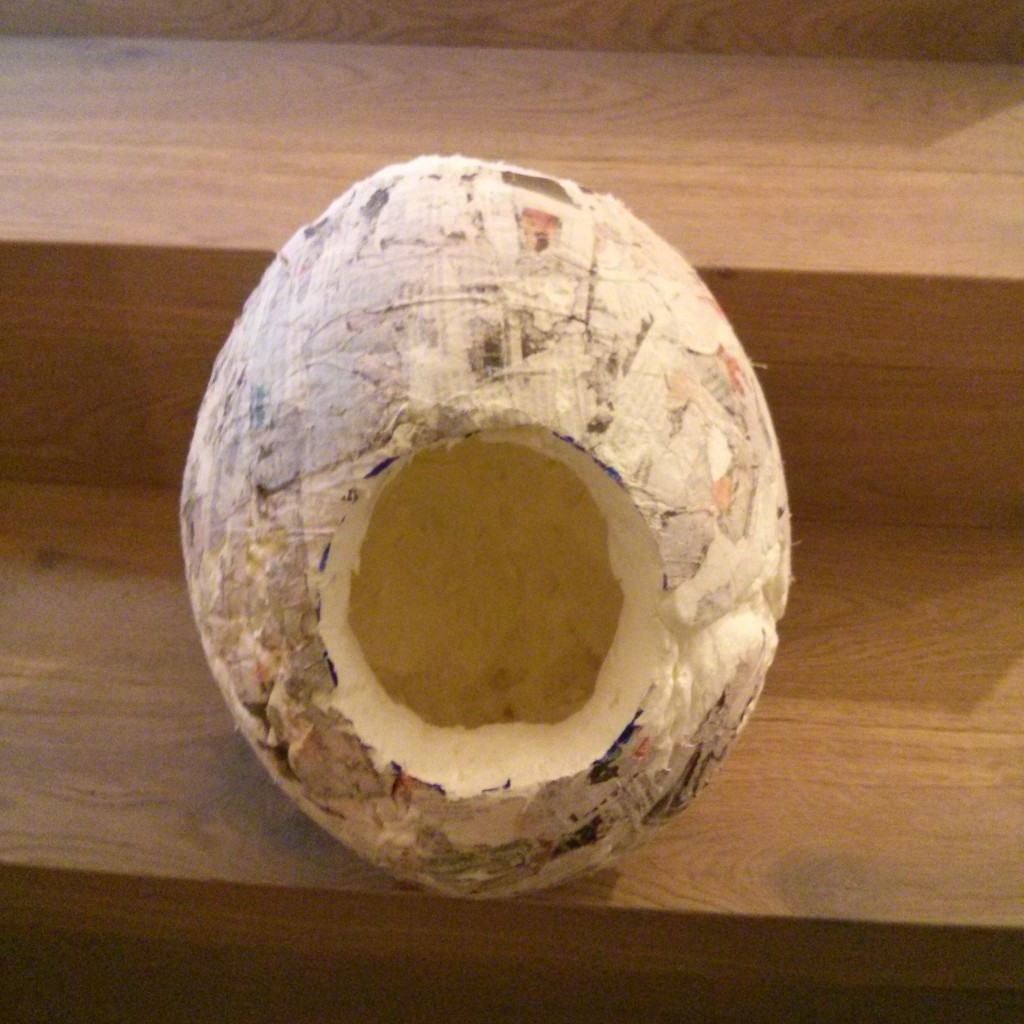
- Start with adding a layer of polyurethane foam. Spray that layer with water (that speeds up the hardening process of the foam). And go on until its all filled.
- Let it dry for about a day and spray it with water every now and then.
- I removed the Paper from the “foam-ball” but i think that’s not really necessary. You can even use the paper as fake-skin later on.
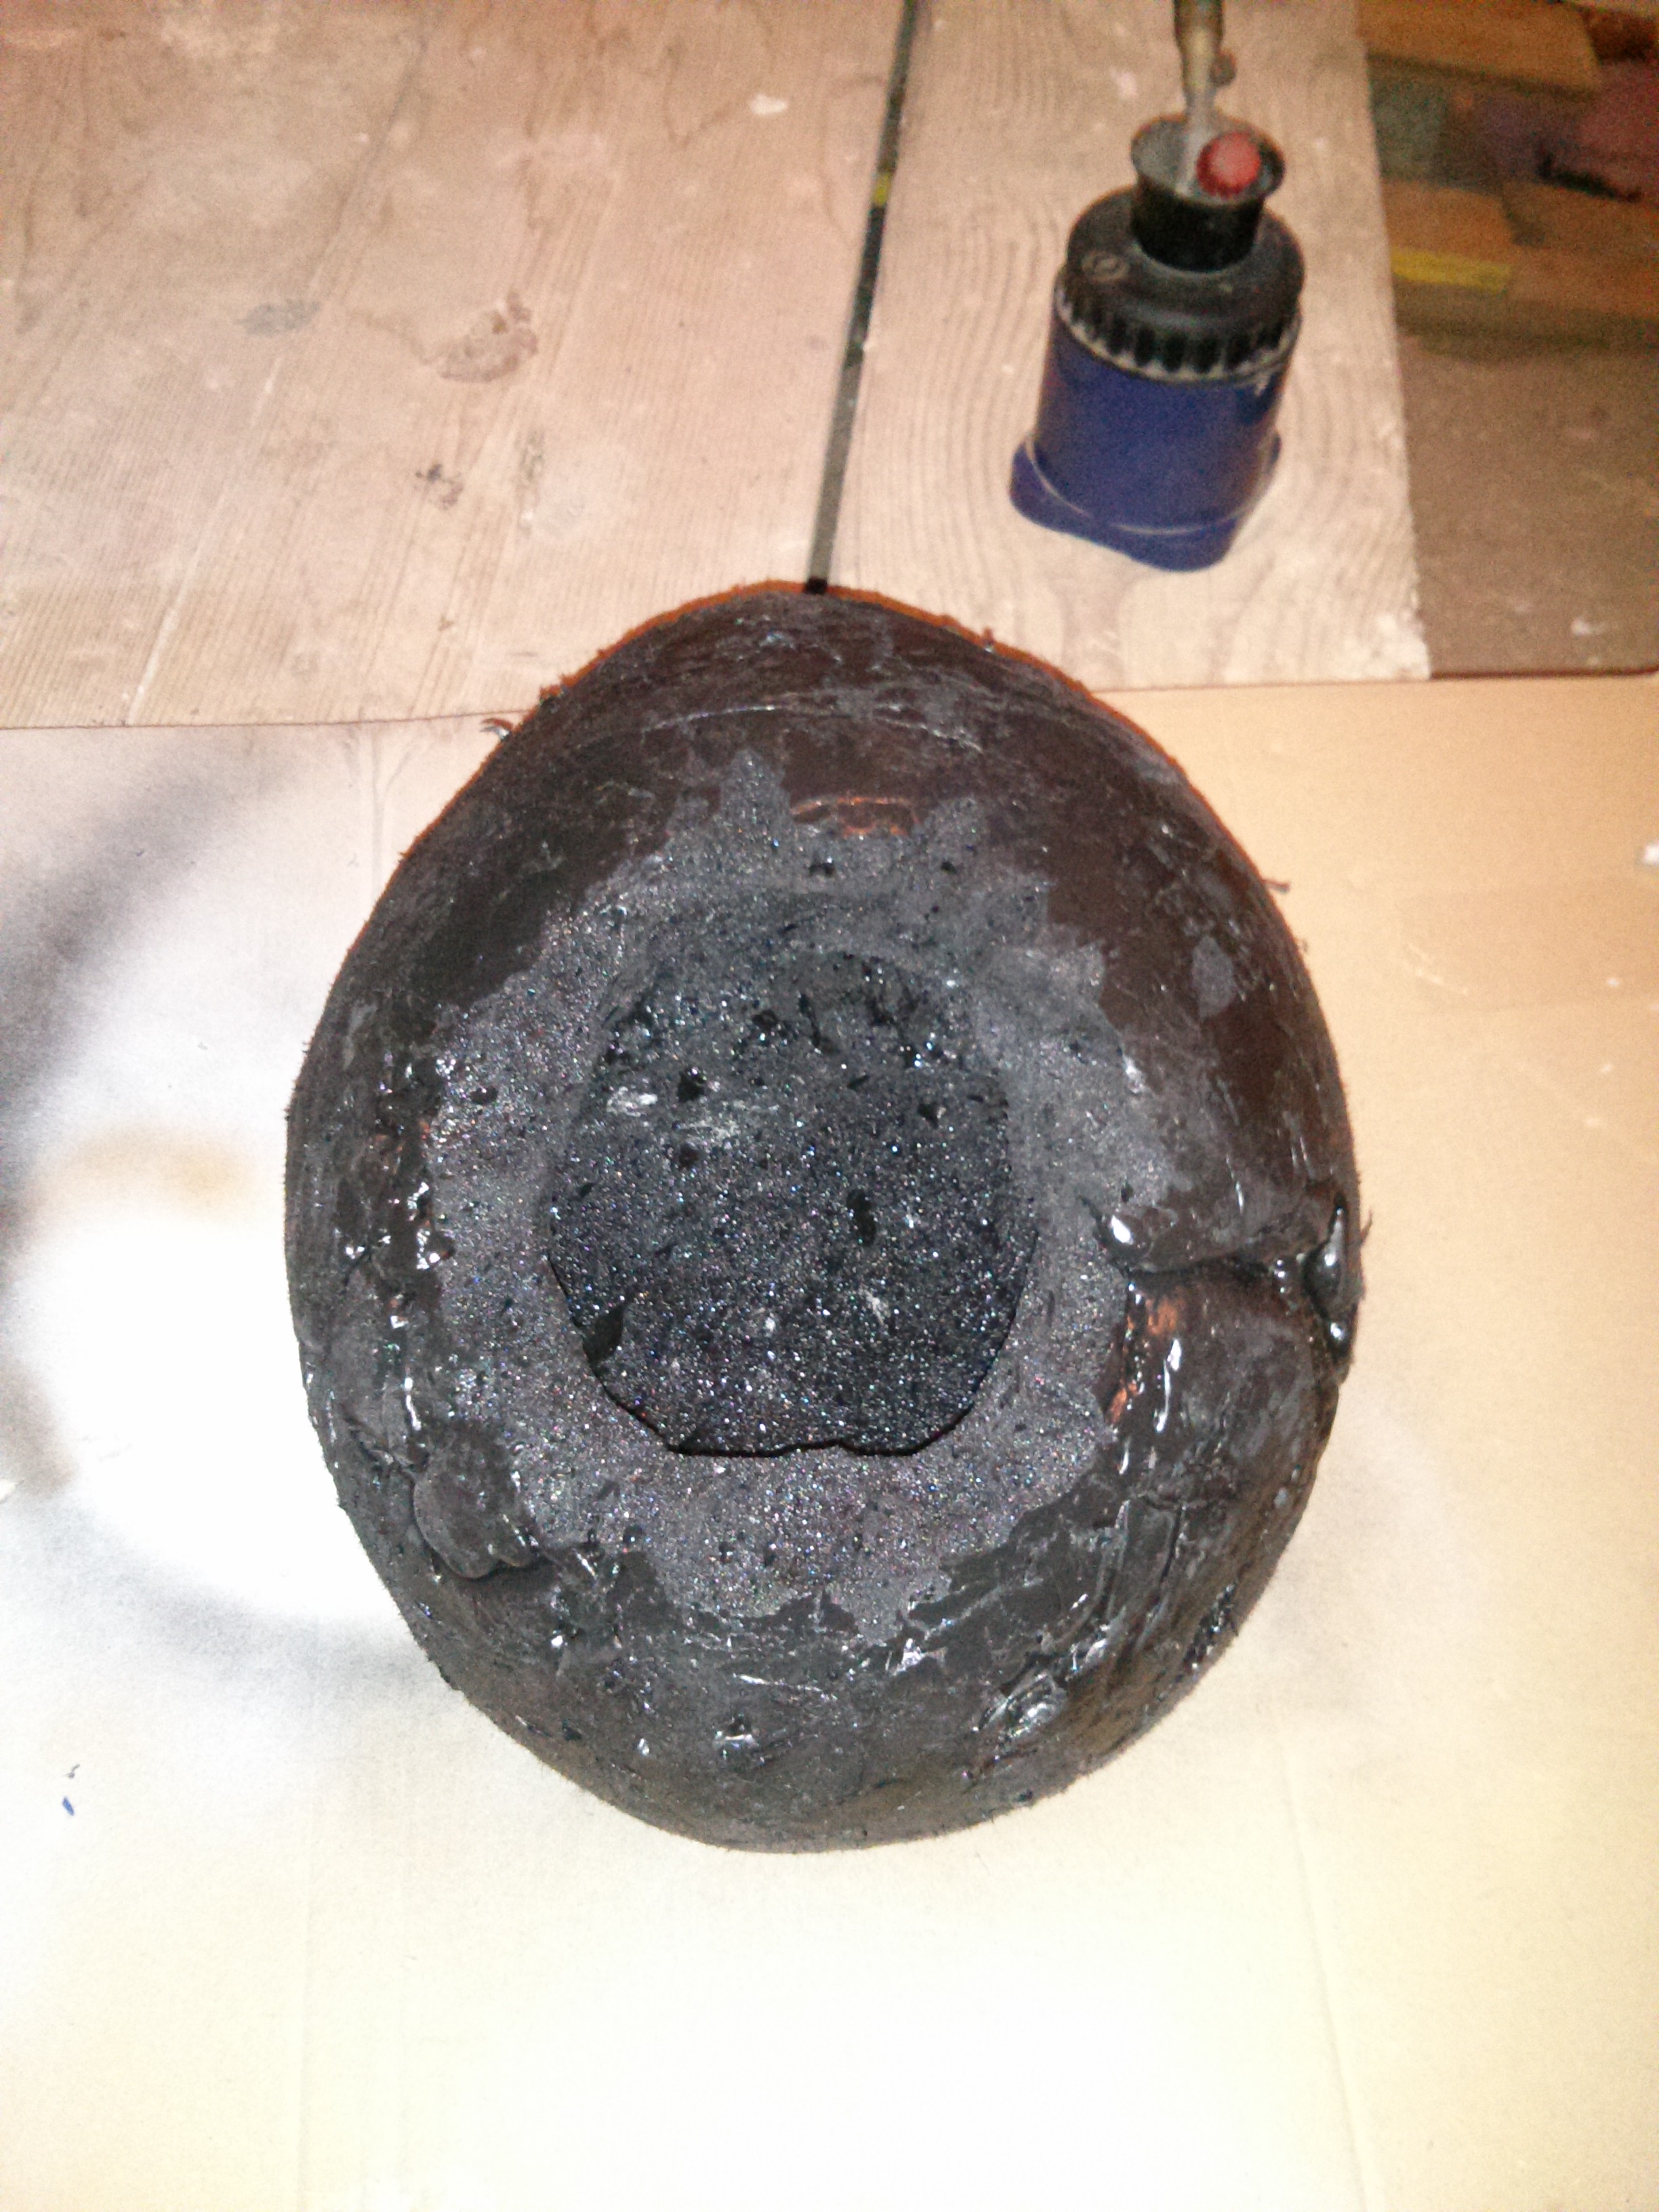
- Flatten the ball at one side. This will be the side that will sit on your belly later.
- Cut a whole on the opposite side to hold the guts and the umbilical cord later.
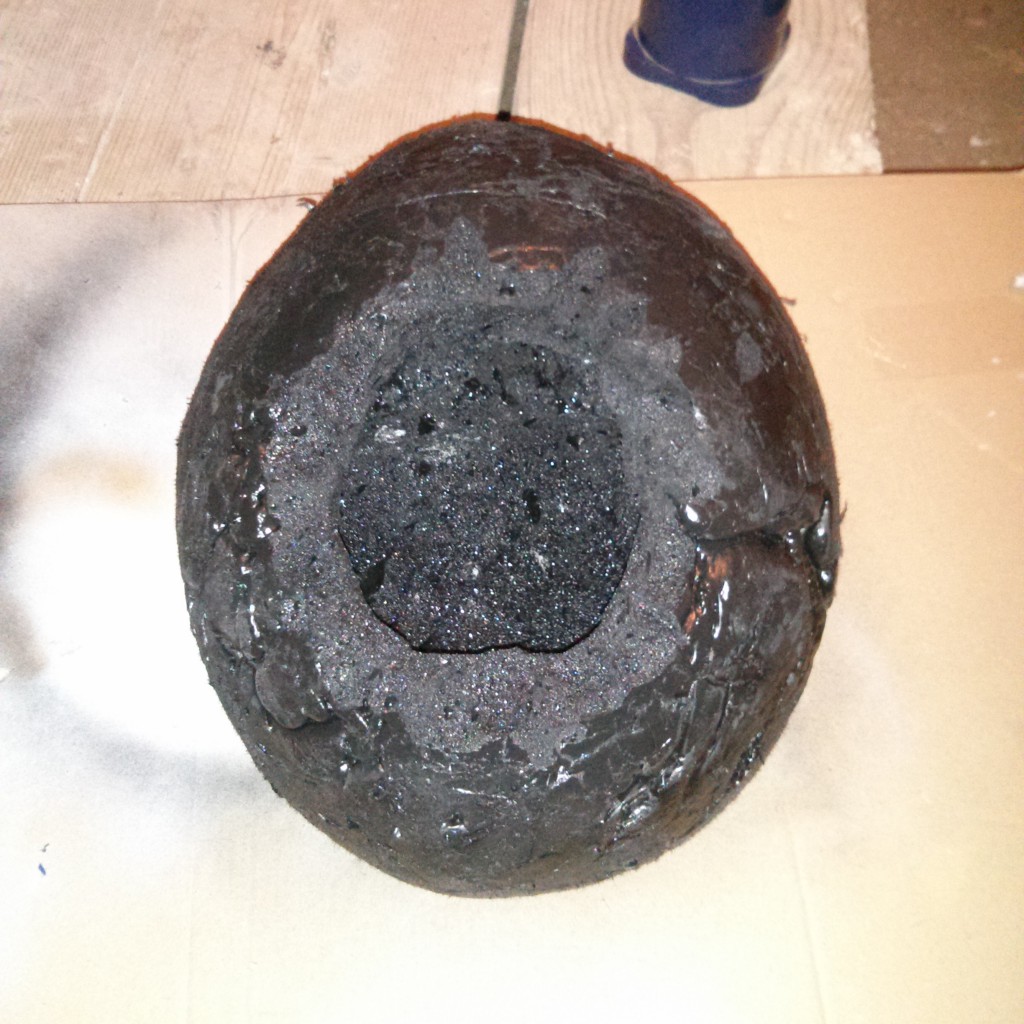
- Paint it black. Be aware that the chemicals in the paint will react with the foam and A) will set free very unhealthy fumes B) will reduce/shrink the foam. Ergo, the hole will get a bit bigger when you spray paint it.
- Put on the dress. Fit the belly in and cut the hole in the dress. The hole should be a bit smaller than the one in the belly. this way you can use the pieces of cloth around the hole to model them in a way like ripped out.
- Mount the bandage with some screws on the belly so that it fits tight enough to not fall down but still feel comfortable.
- Glue the belly to the costume by applying some silicone around the hole. Press it against the the cloth.
B. The guts
- Just put some polyurethane foam on cardboard or any other cover material and let it dry
- Once dry feel free to paint it in various red tones. Add some shadows with darker red and maybe a bit black. Set some highlights with fake blood or even nail polish perhaps. It looks best if you use shiny paint. This will make it look wet afterwards. If it does look mate to you you can either cover it in transparent paint or try to add some usual cooking oil.
- Put some silicone in random lines on the cardboard and let it dry. Do some 180° turns. Should give you very thick spaghetti of silicon.
- Continue at section C3.
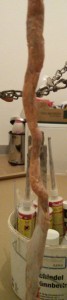
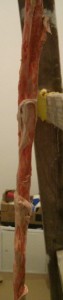
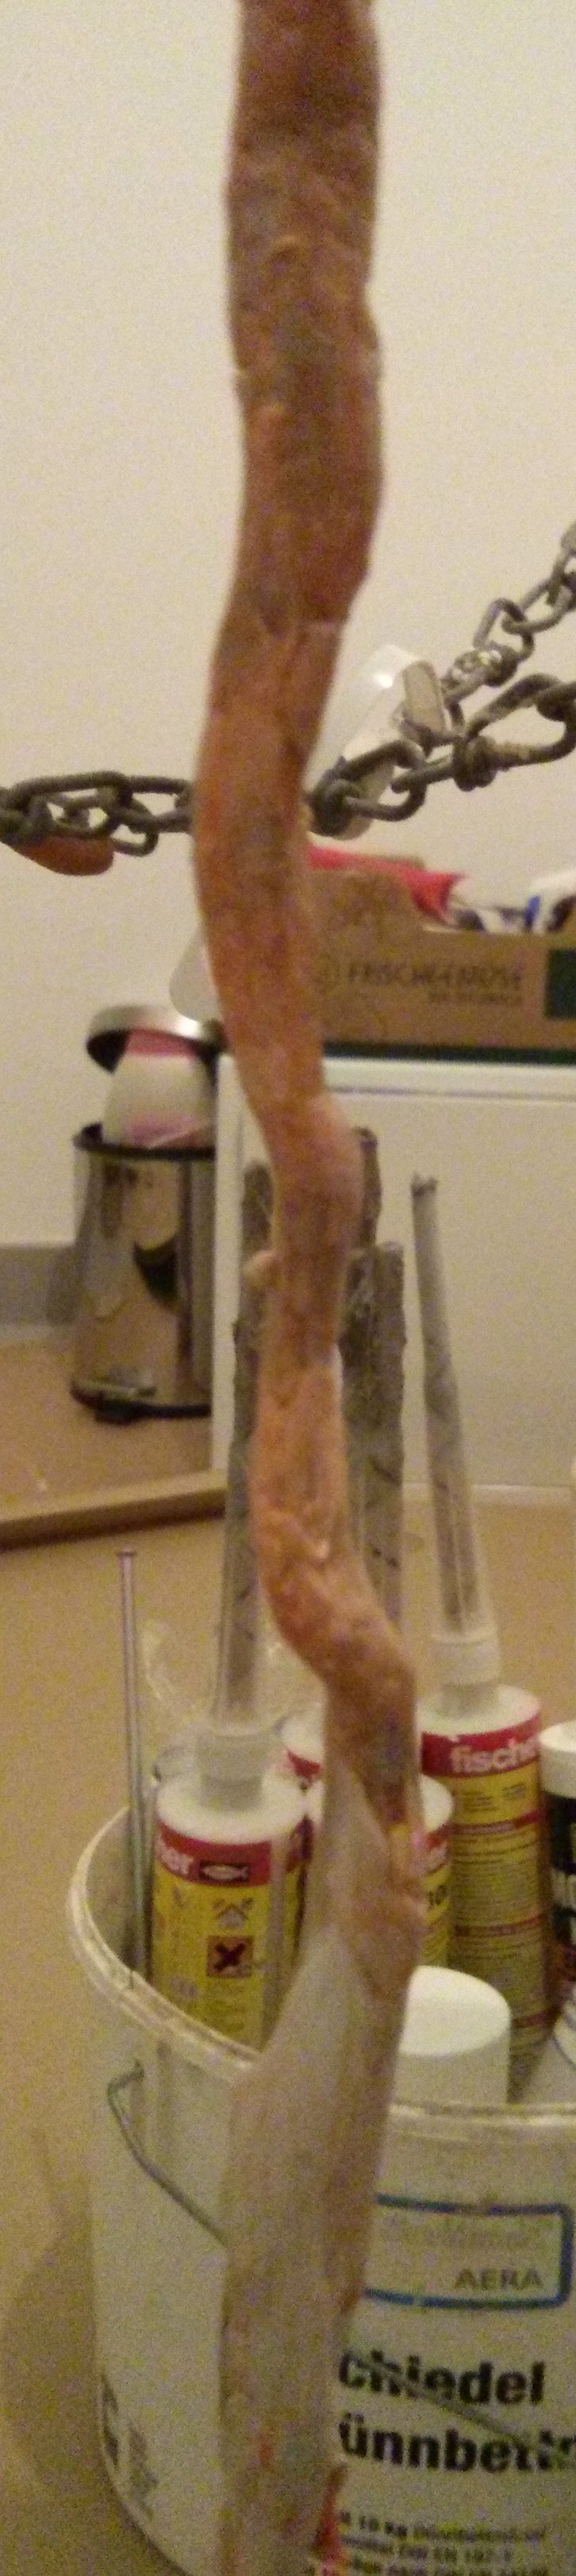
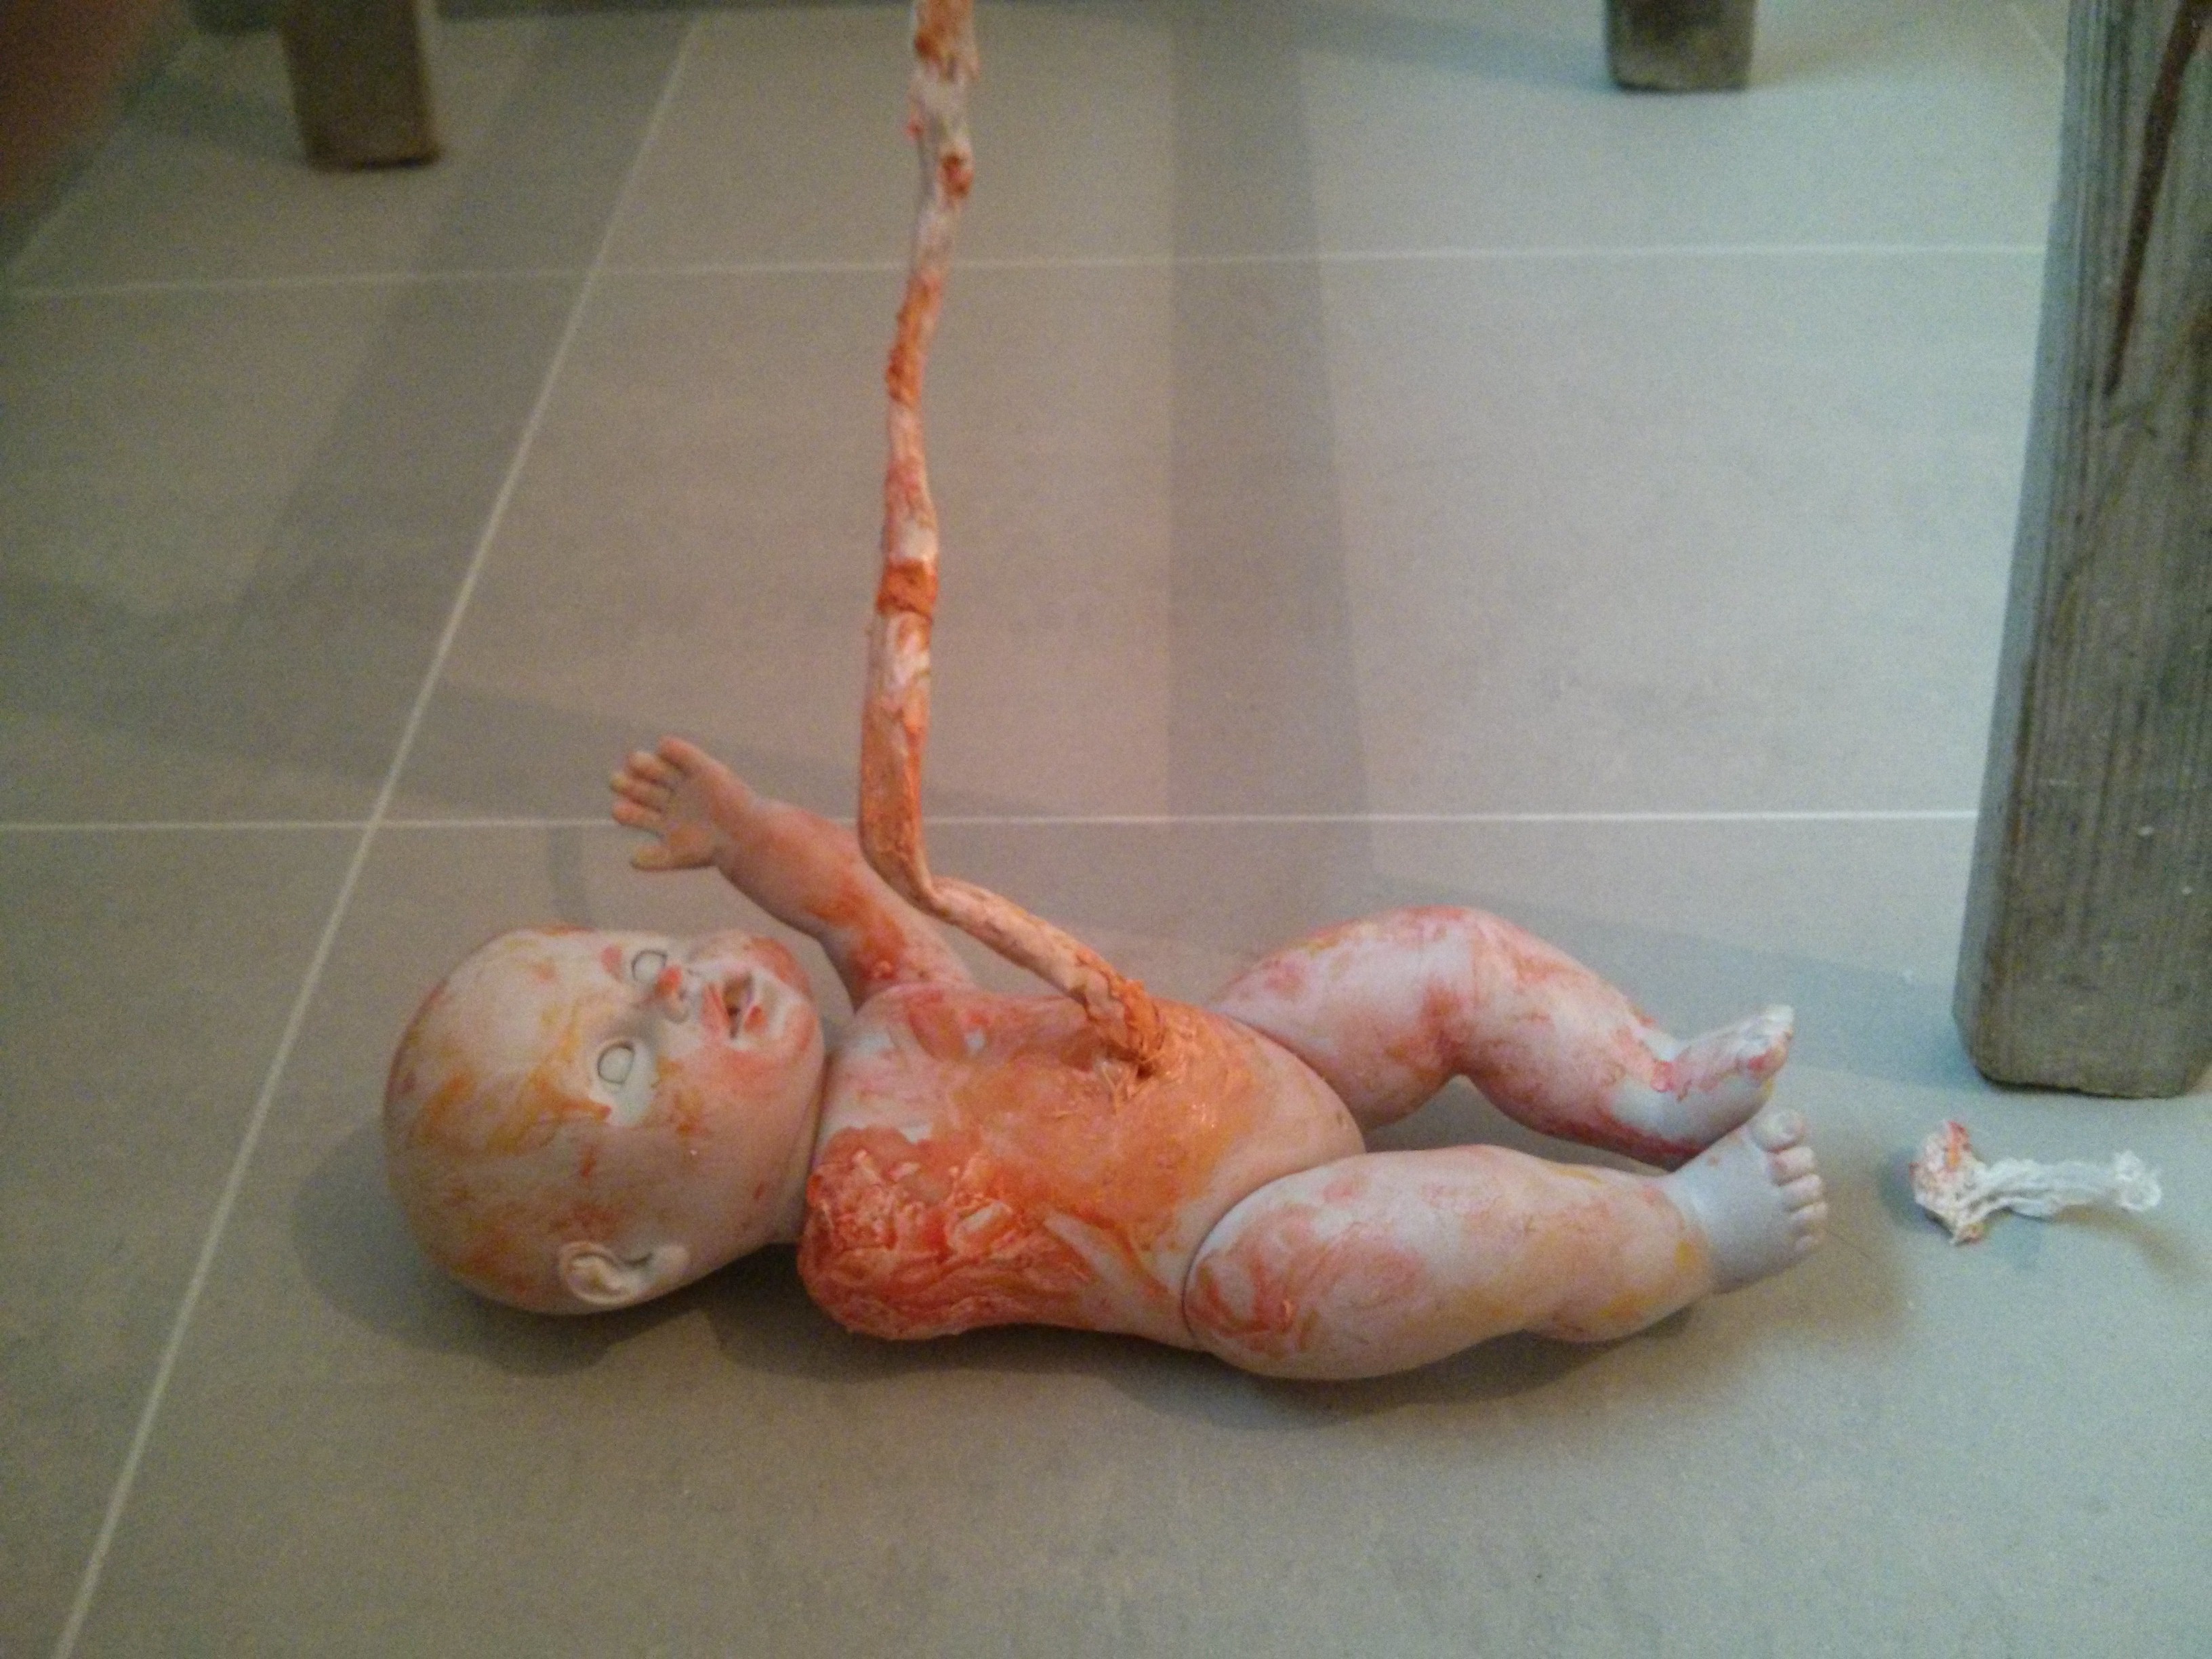
C. The umbilical cord
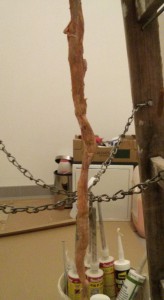
- Take about 1m of cling film and twist it until it becomes an 1m long “rope” of about the thinkness of your thumb.
- Mix some grey and beige silicone with red and beige food coloring.
- Put on one-way gloves (made of plastic or rubber). Take the mixture in your palm and put it on the “cling rope” by pulling your fist over it. Repeat that step over and over every couple of hours.
Which will make it look like this:


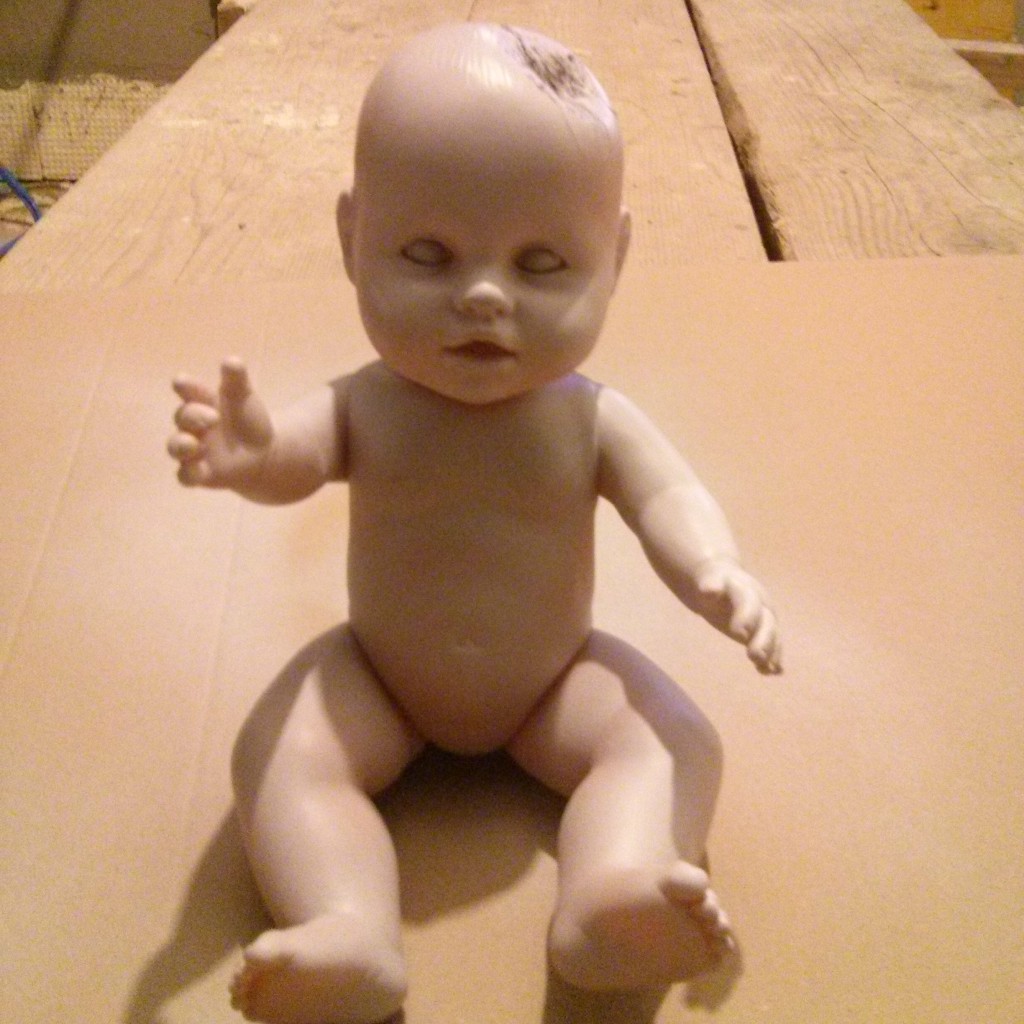
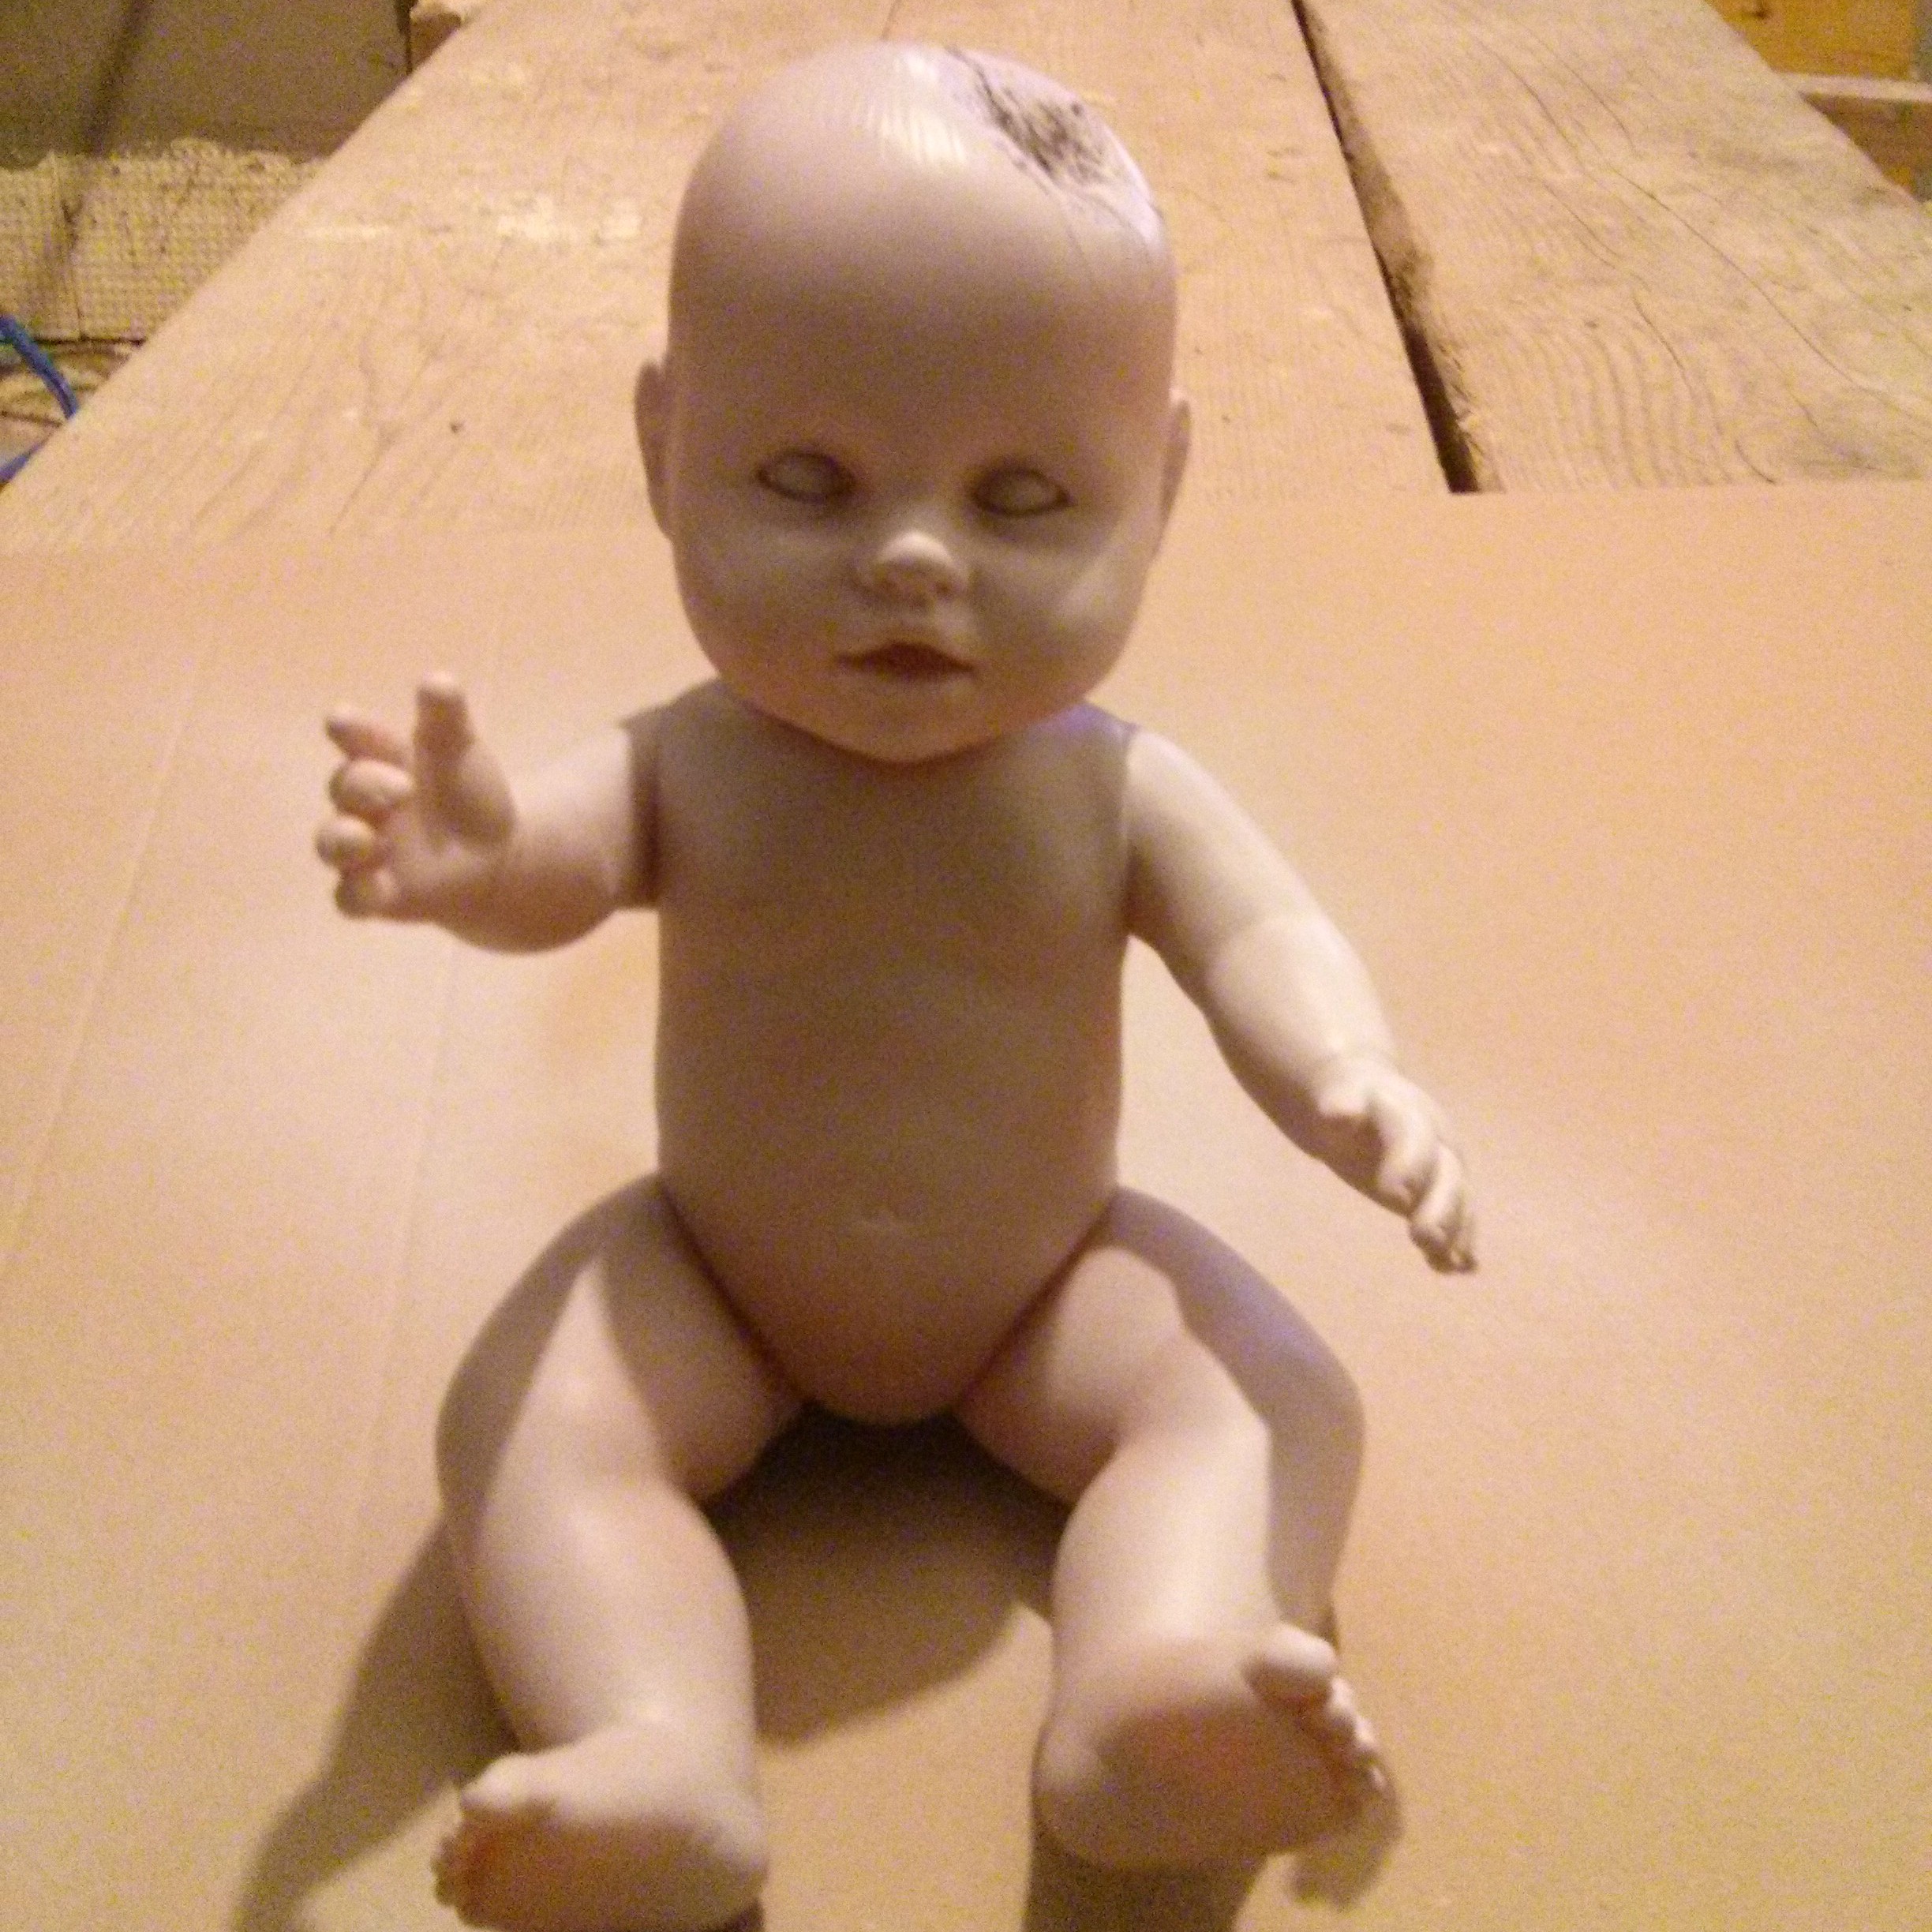
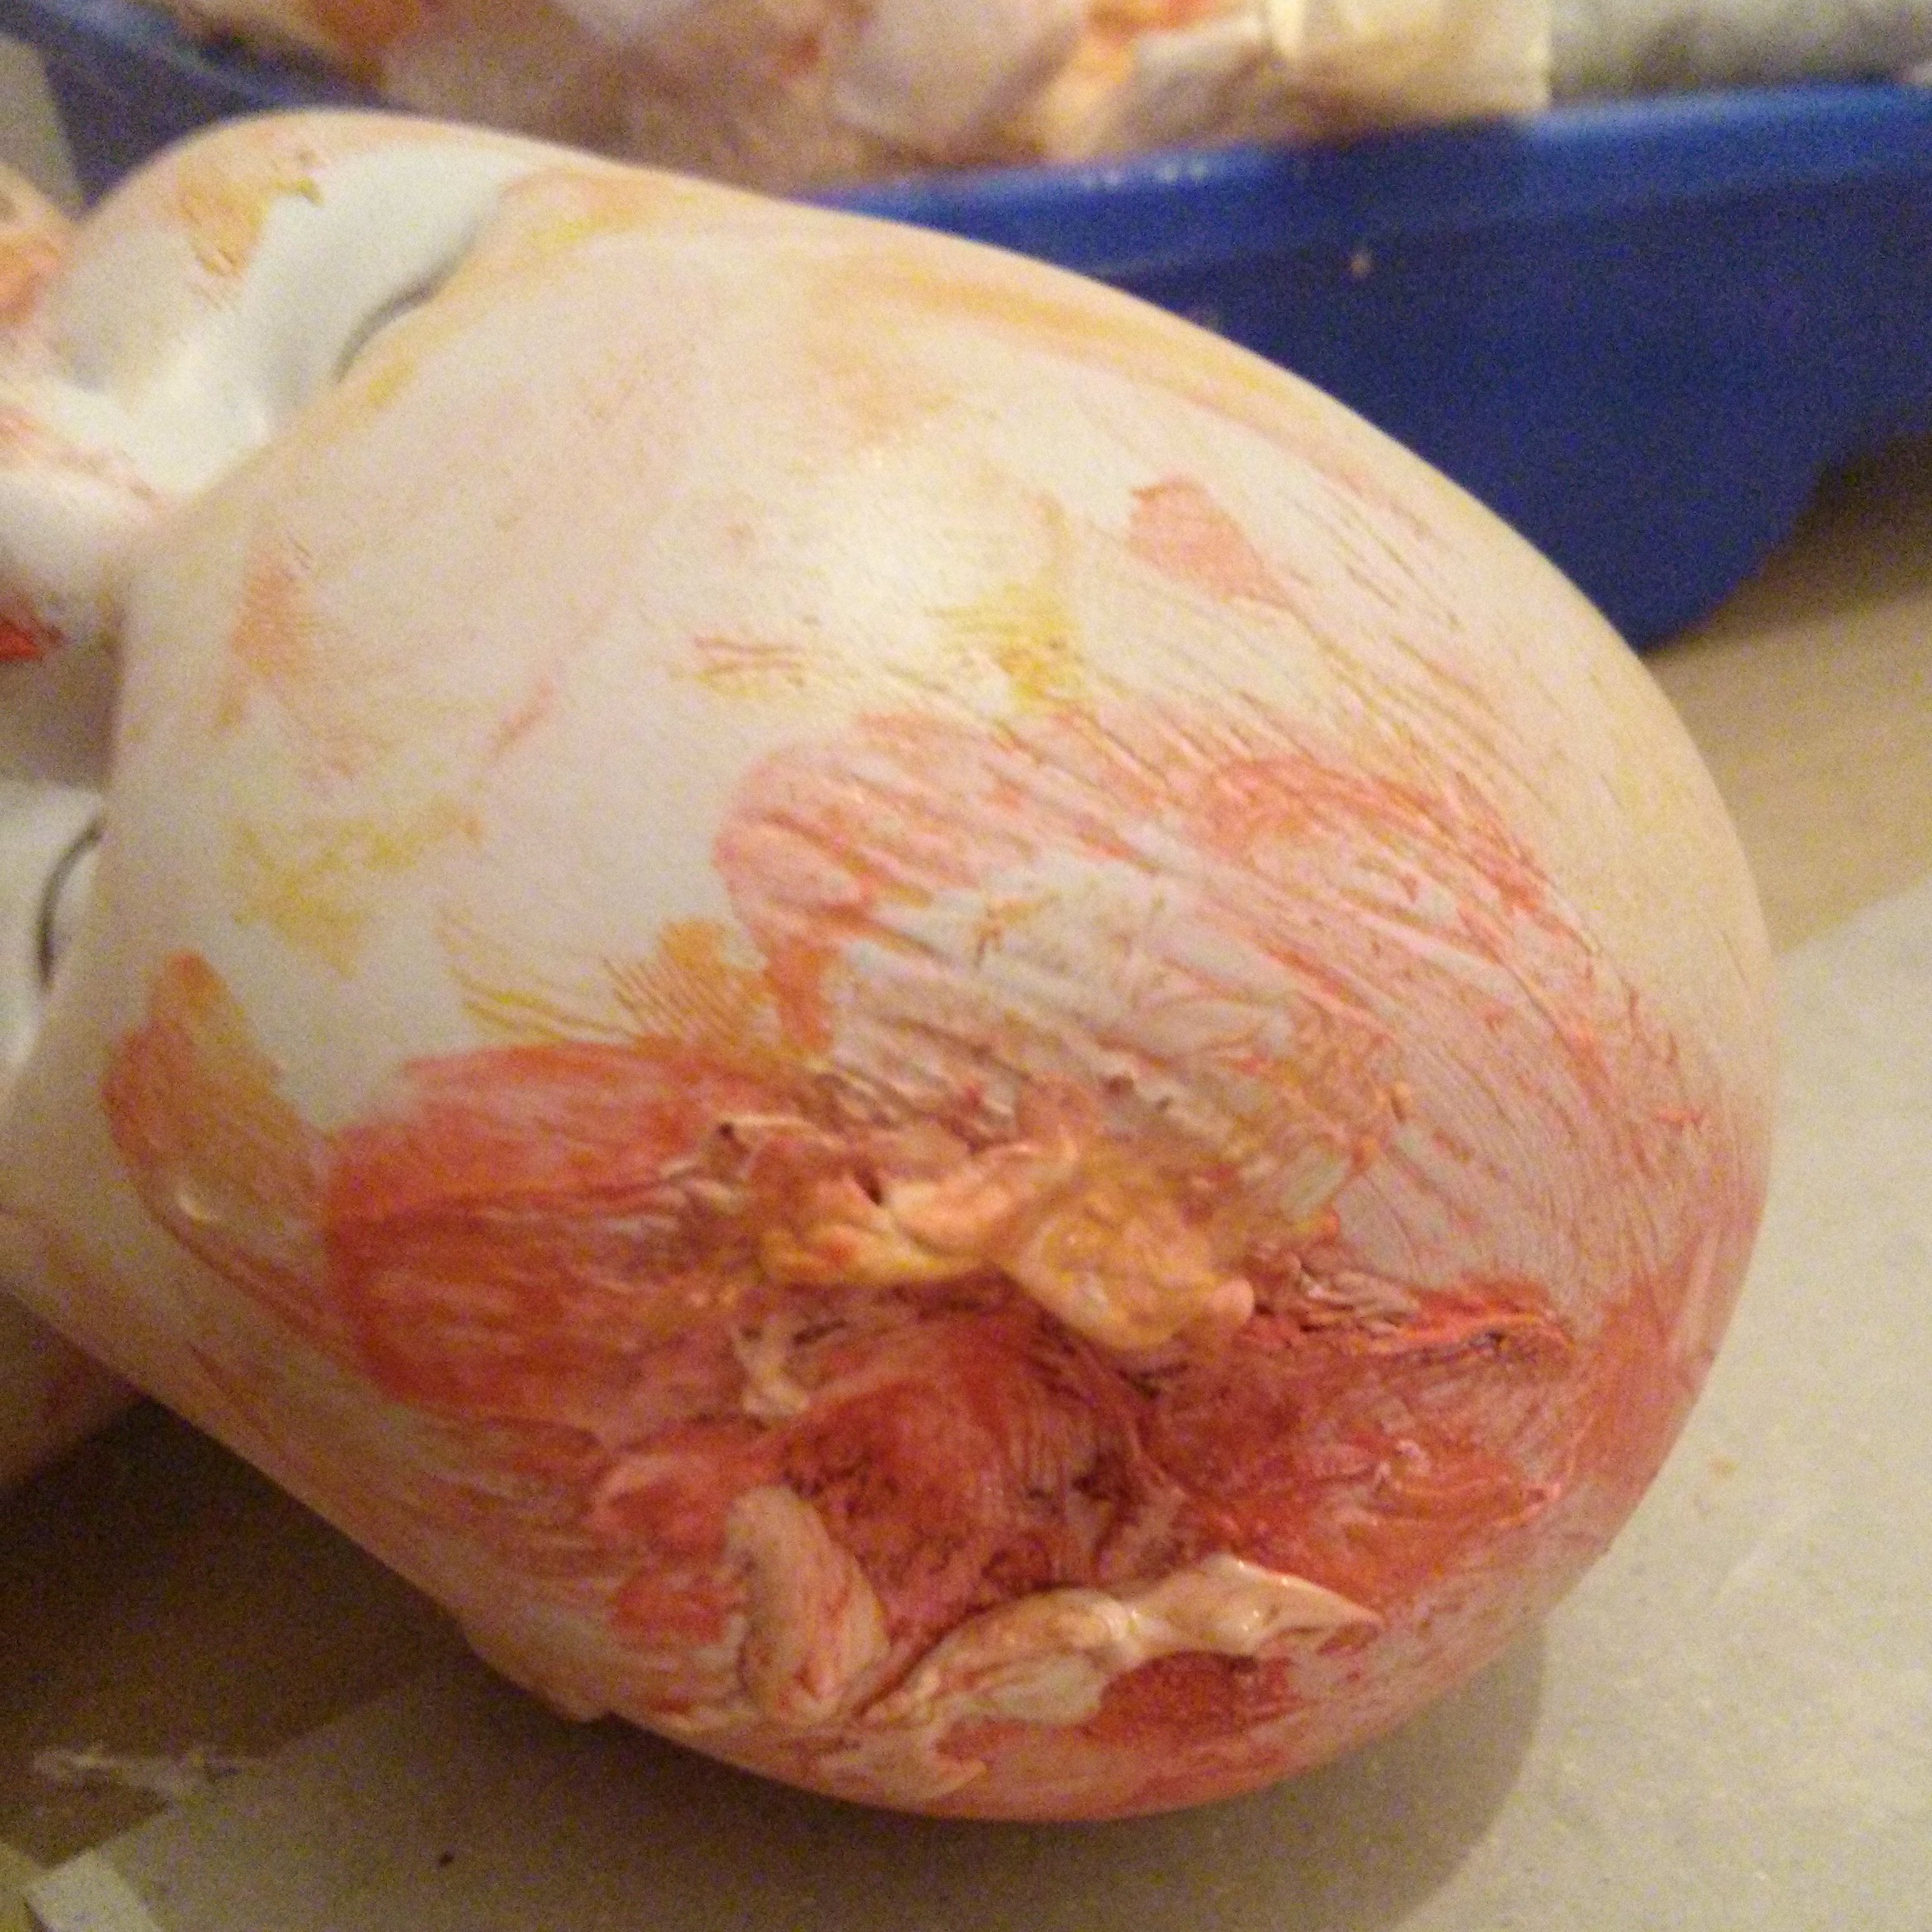
D. The baby
- Spray-paint the doll with bright grey color. Make sure to get the eyes all covered so they look “dead”.
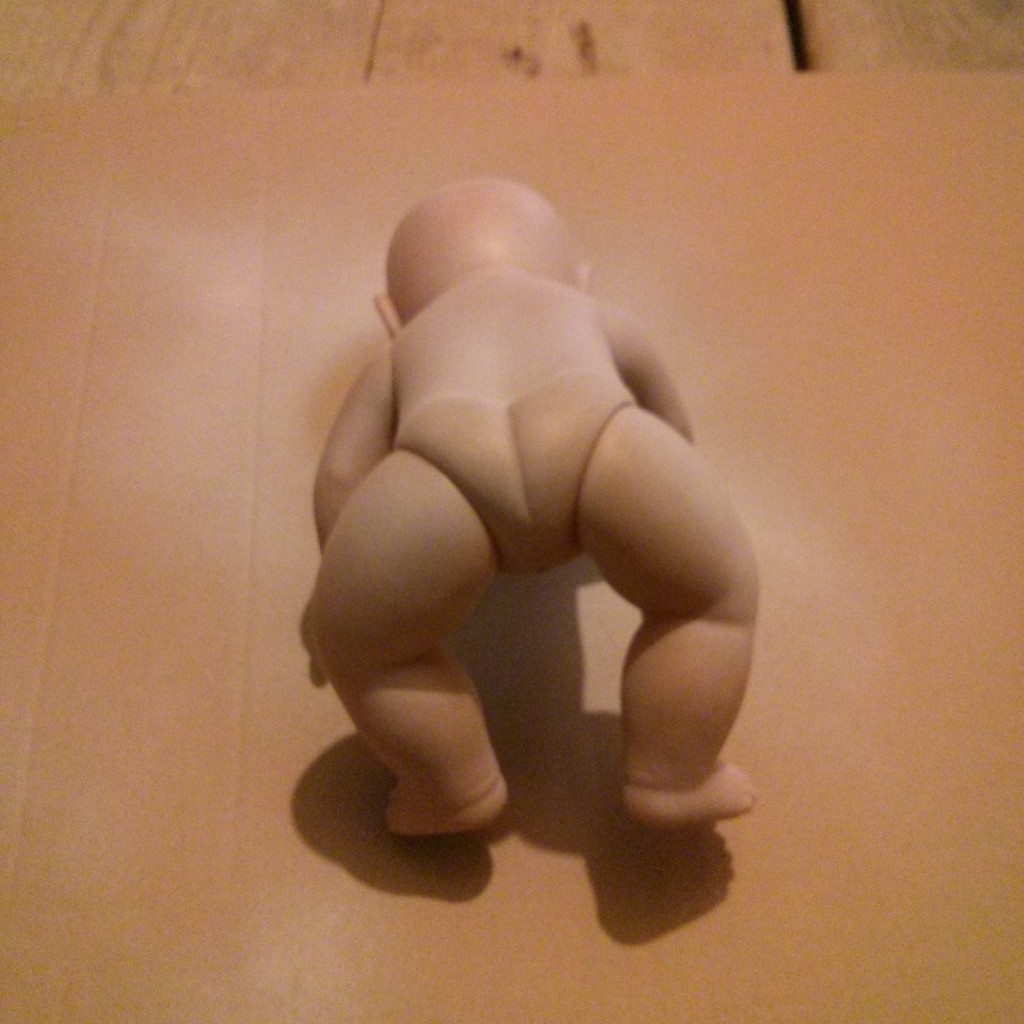
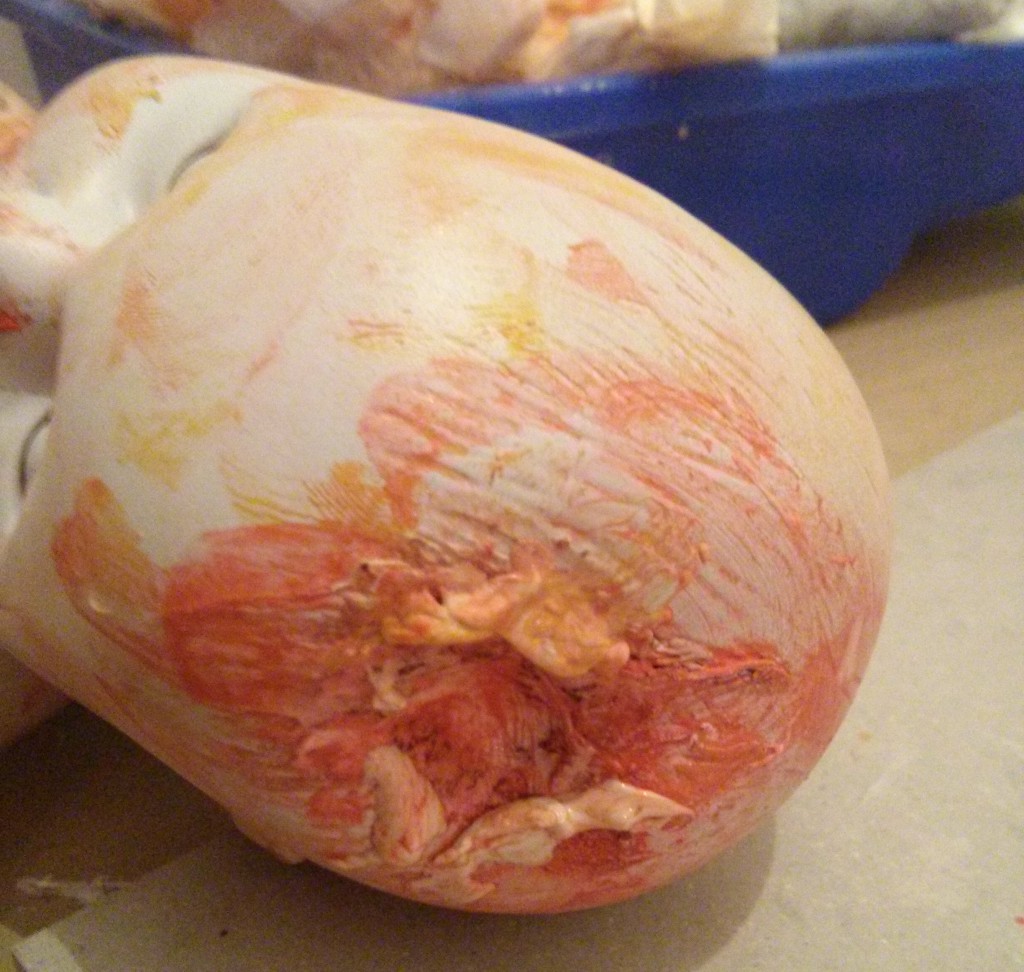
- I added a head wound to make it look even more disturbing. Therefore i used a blowtorch to melt a ~2cm spot on the head and then just applied pressure with a hammer until it hardened again.
- Ripped off an arm as well.
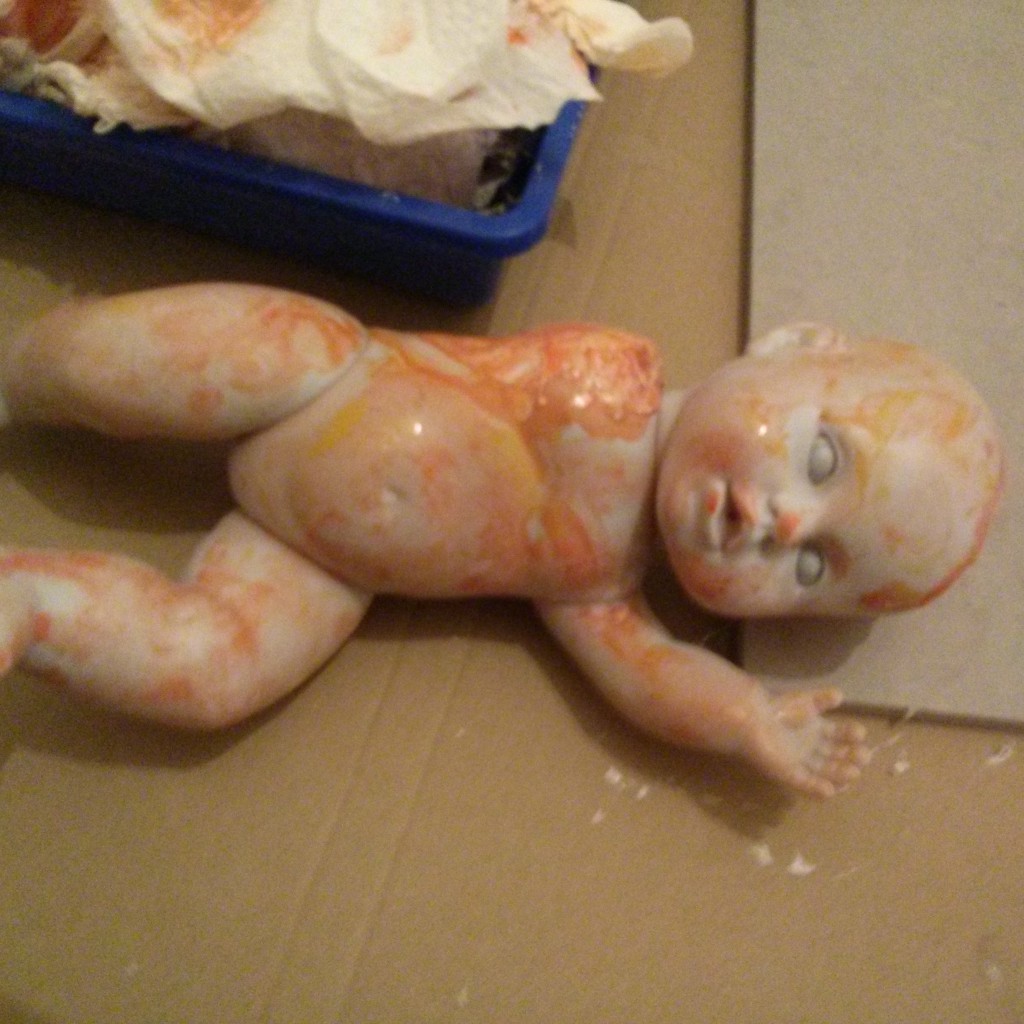
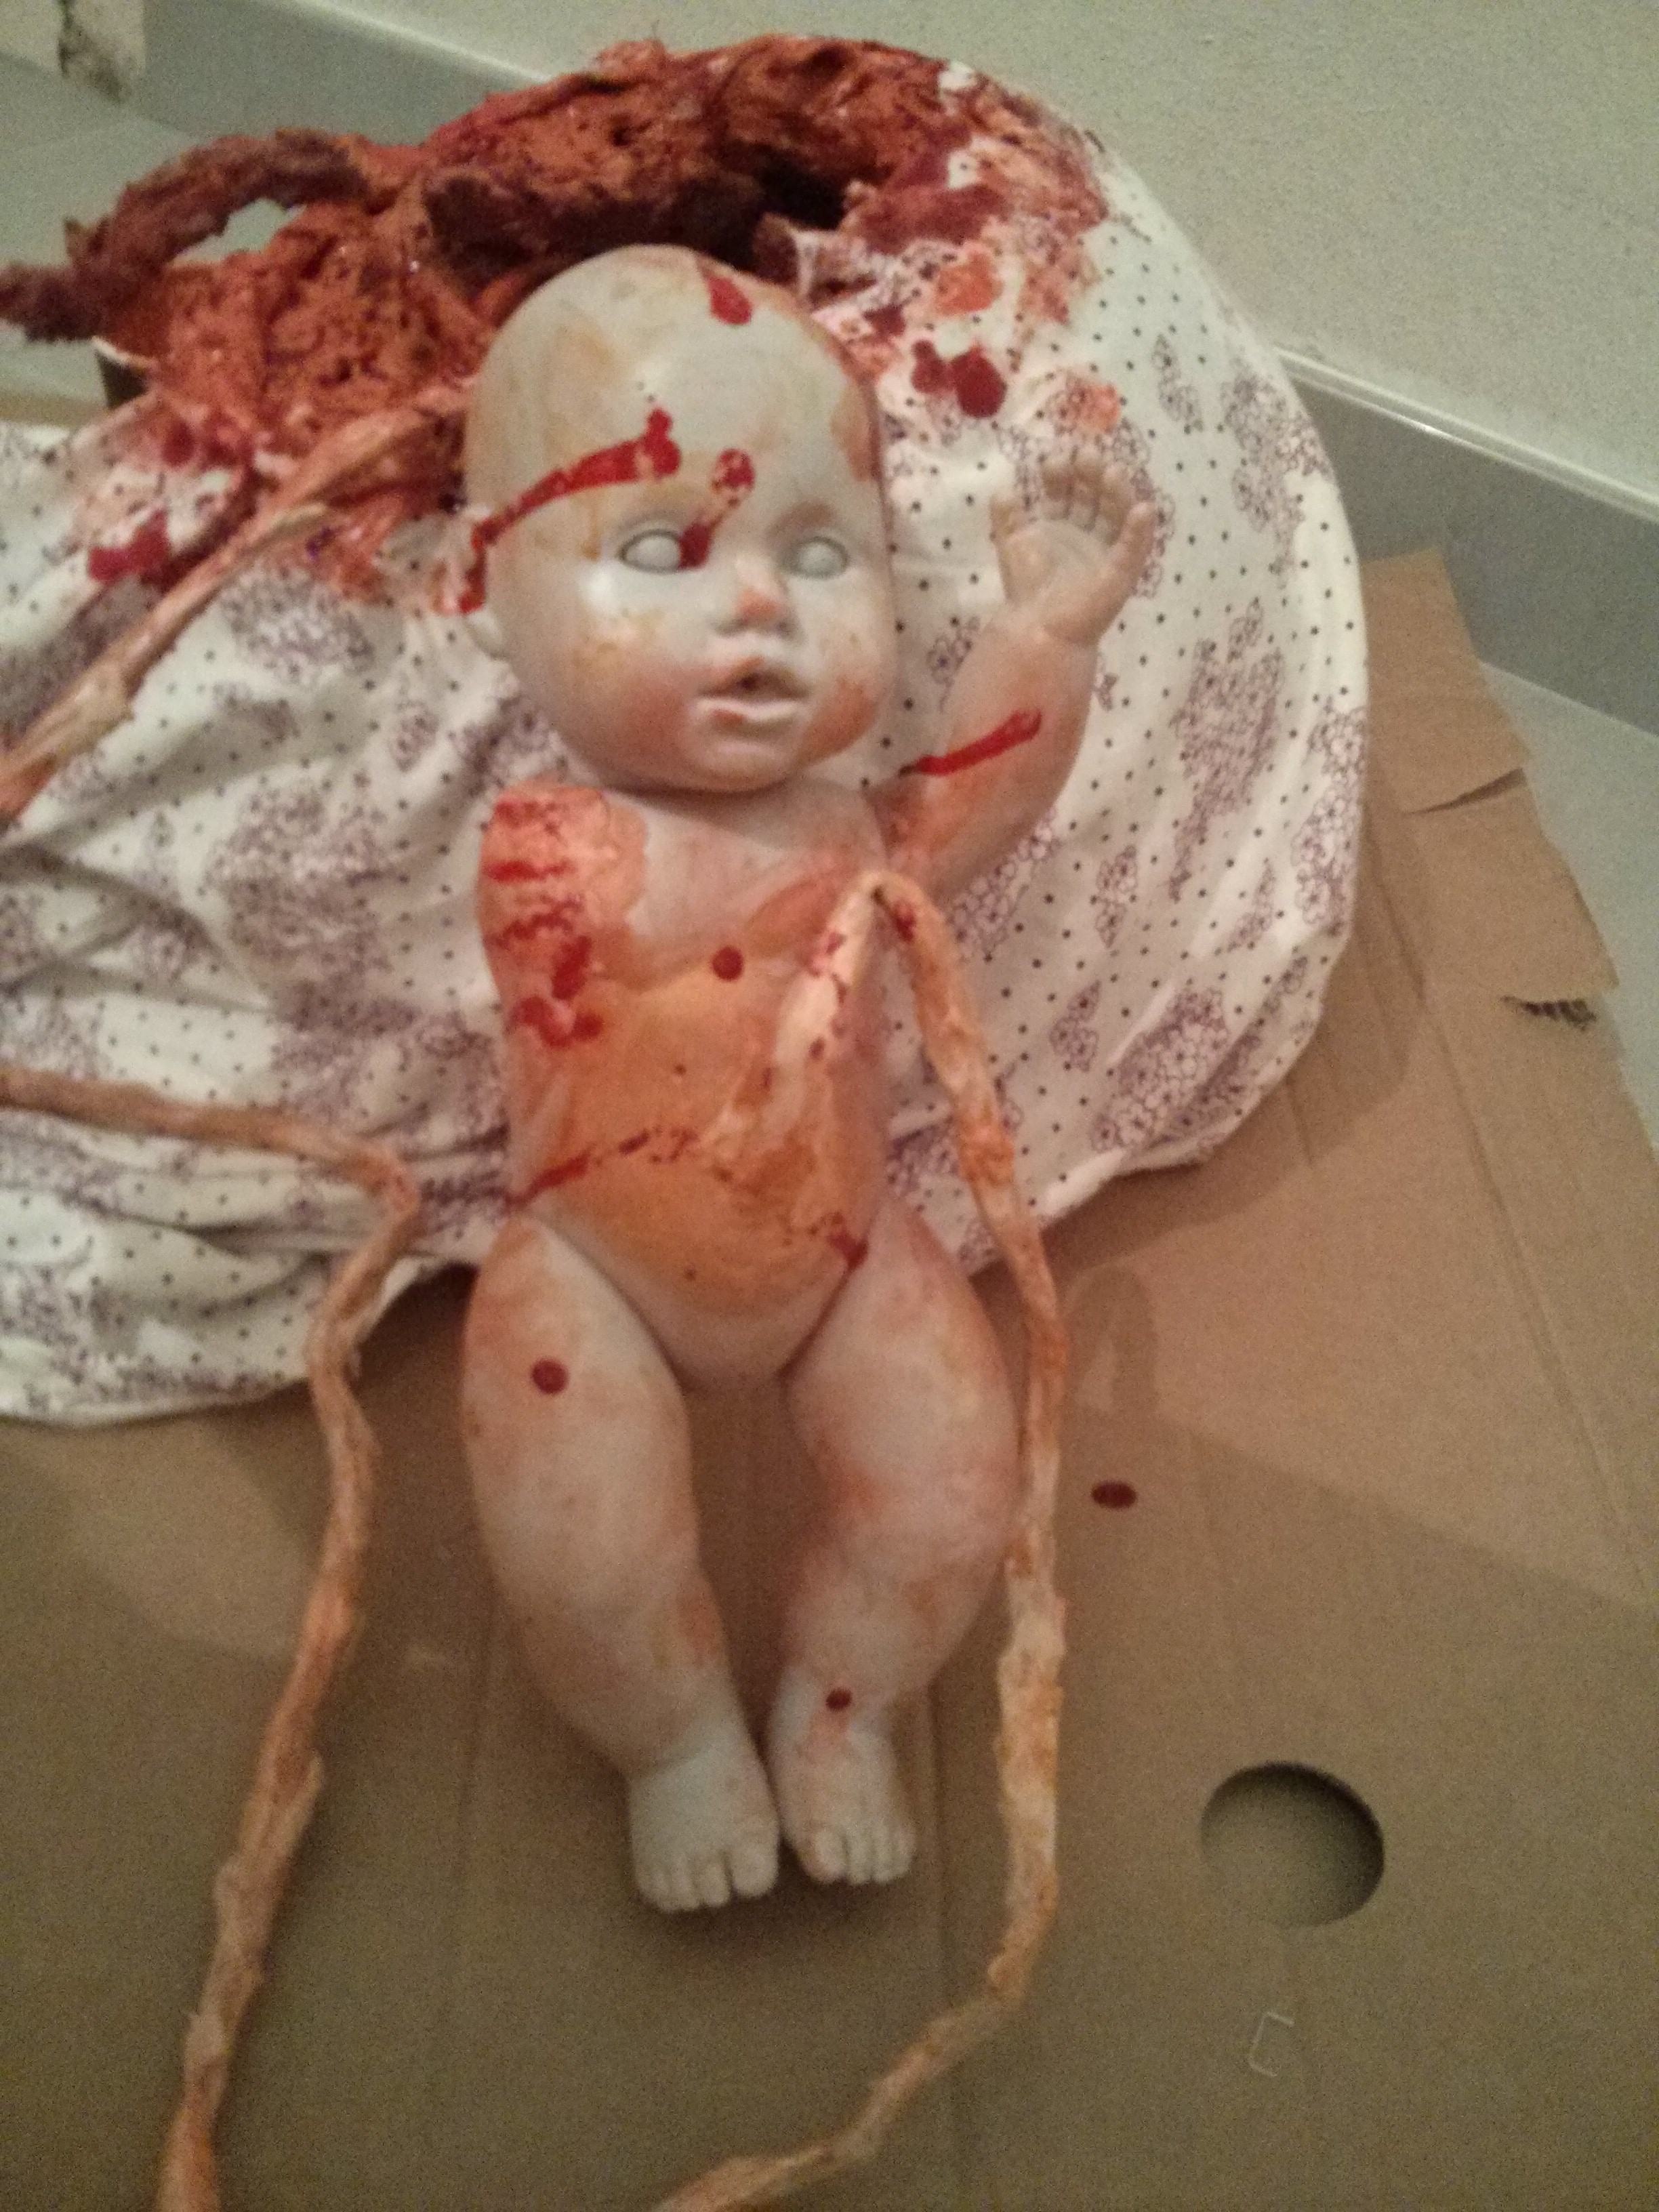
- Added the silicone mix from section 3C to both wounds. Randomly applied some of it all over the doll.
- Drill a hole in the navel.
- Stick a nail through the end of the cord and put this end in the navel with the nail aligned alongside the cord. The nail turnes by 90° once through the navel and will keep the cord from moving out (a bit.)
- Use some silicone to finally glue the cord to the navel.


E. Merge it
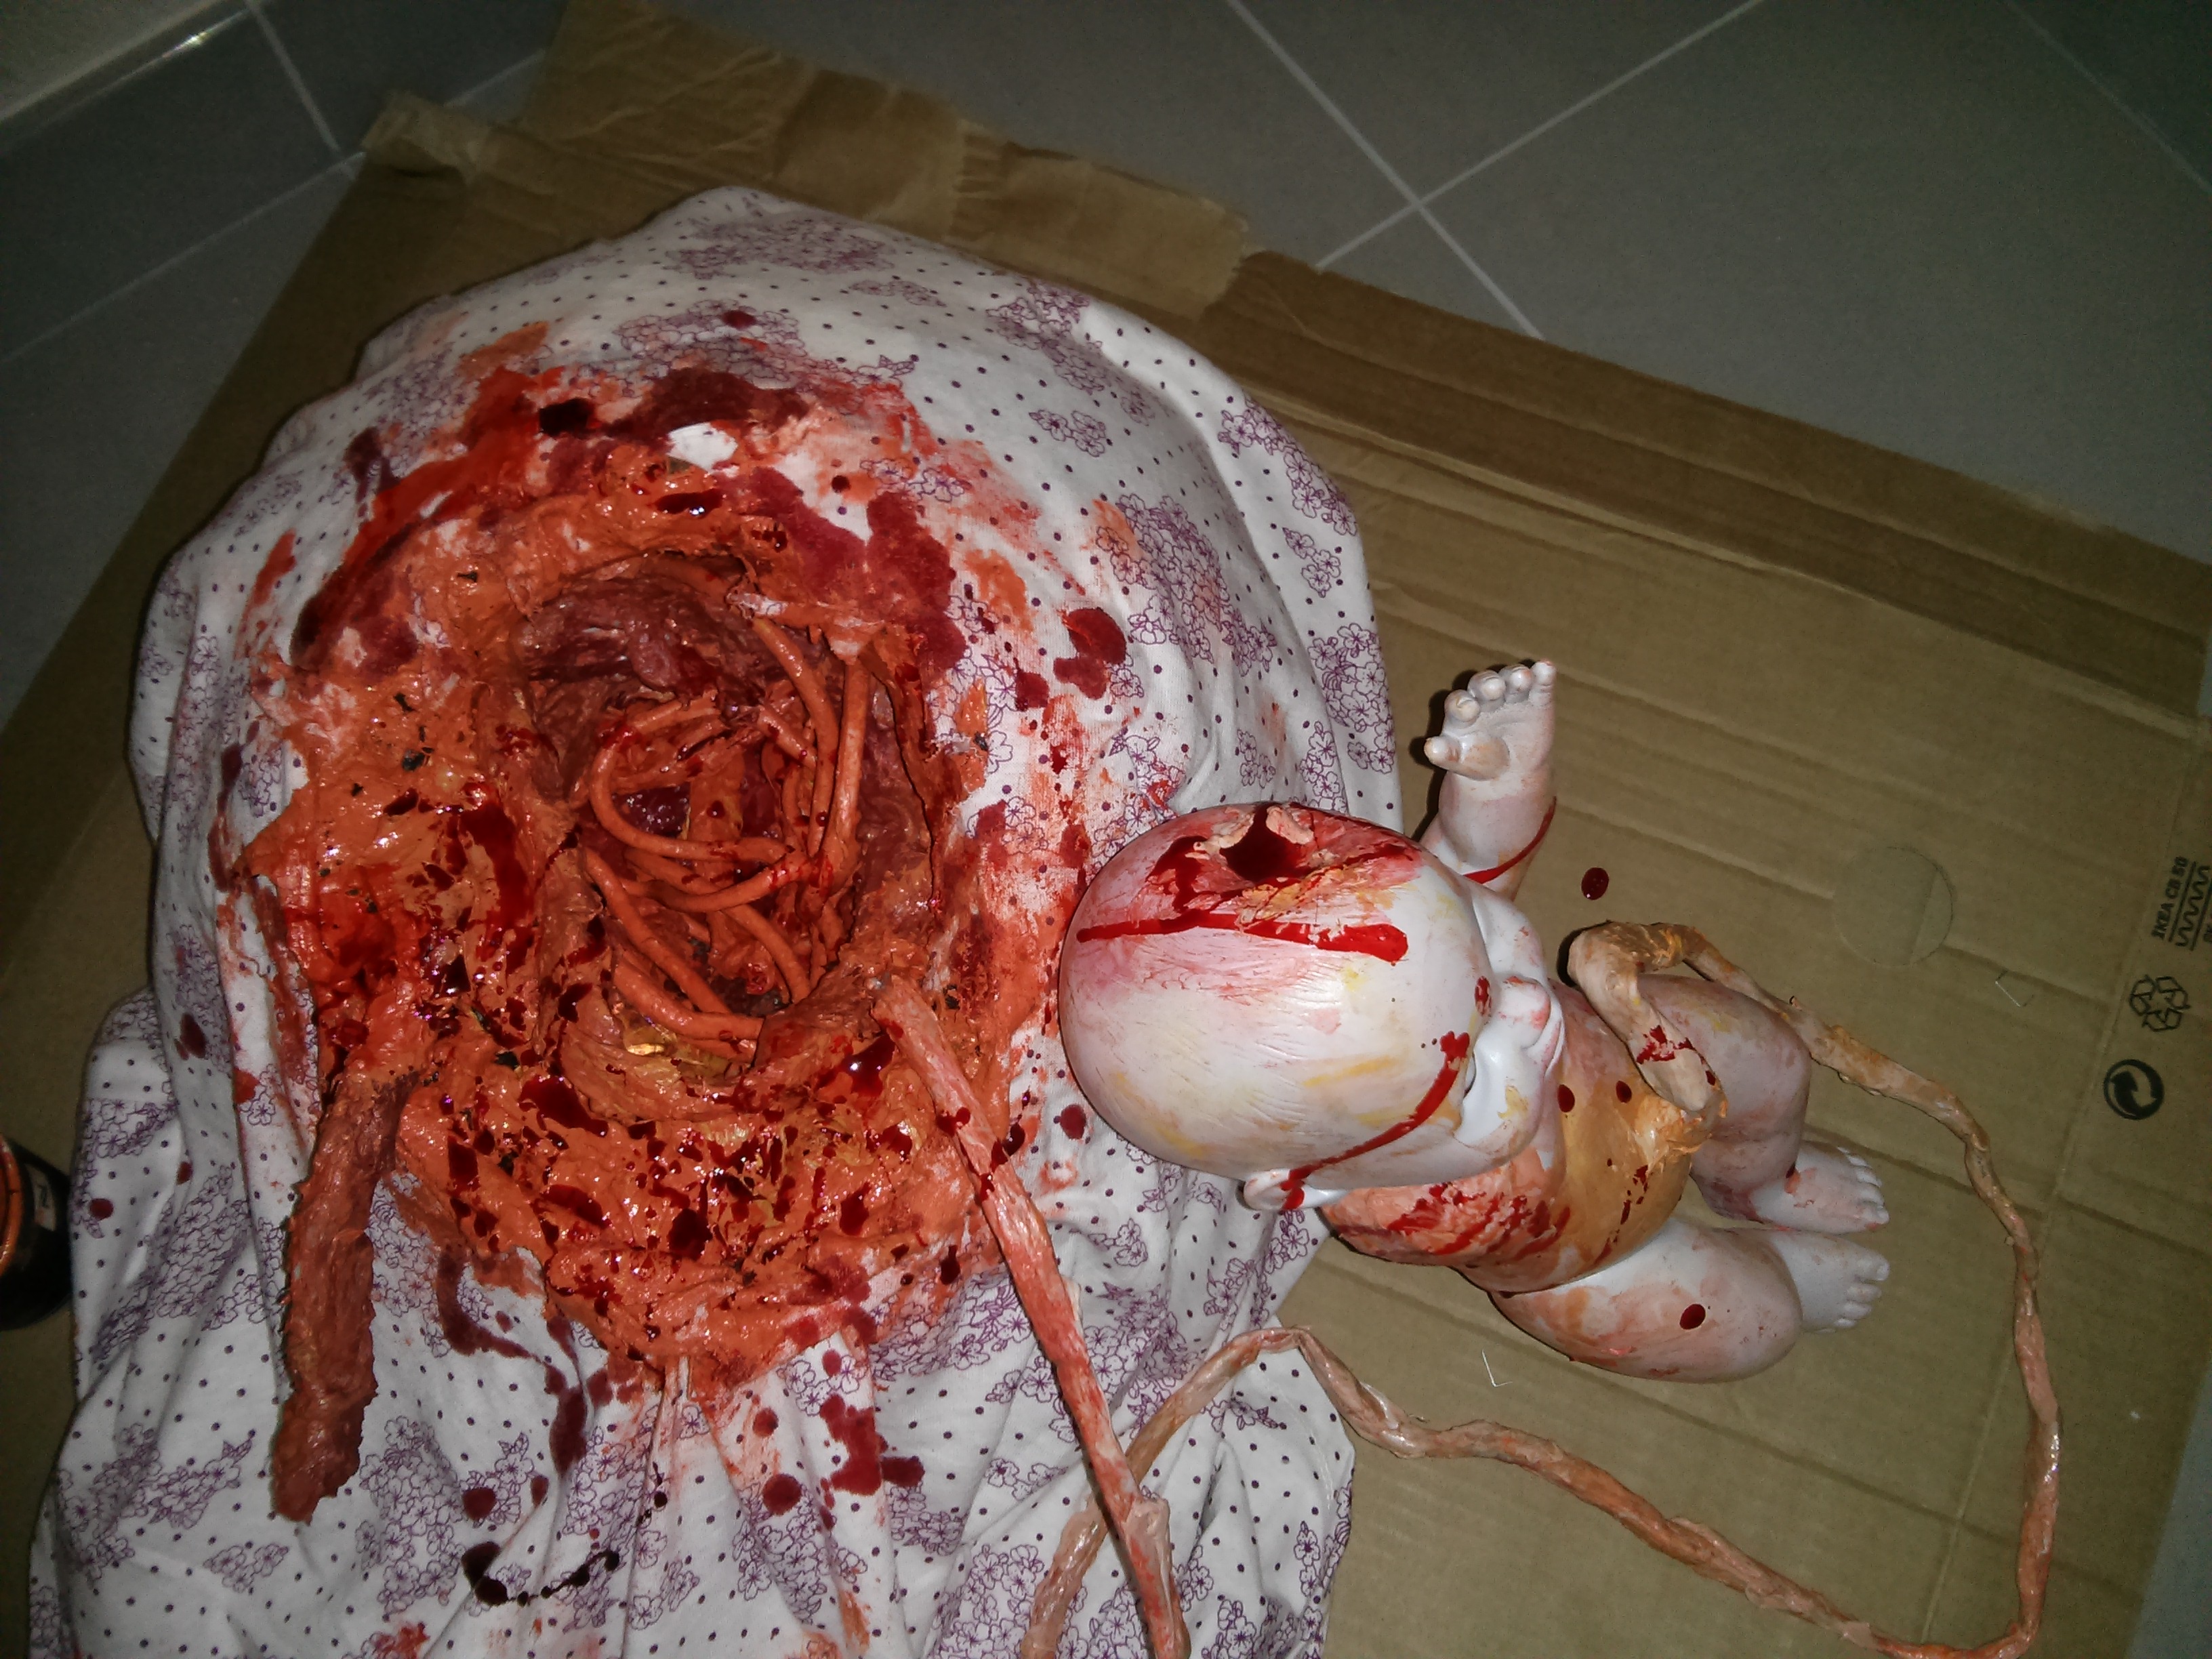
- Fix the cord to the bottom of the hole in the belly. I used a big screw to do so and again some silicone.
- Just lay the guts (silicone spaghetti and polyurethane foam) inside the belly.
- Apply more fake blood to the belly and make the hole look fuzzy and disgusting :)
- Put on. Fasten the bandage.
- Makeup!
The loving parents :D
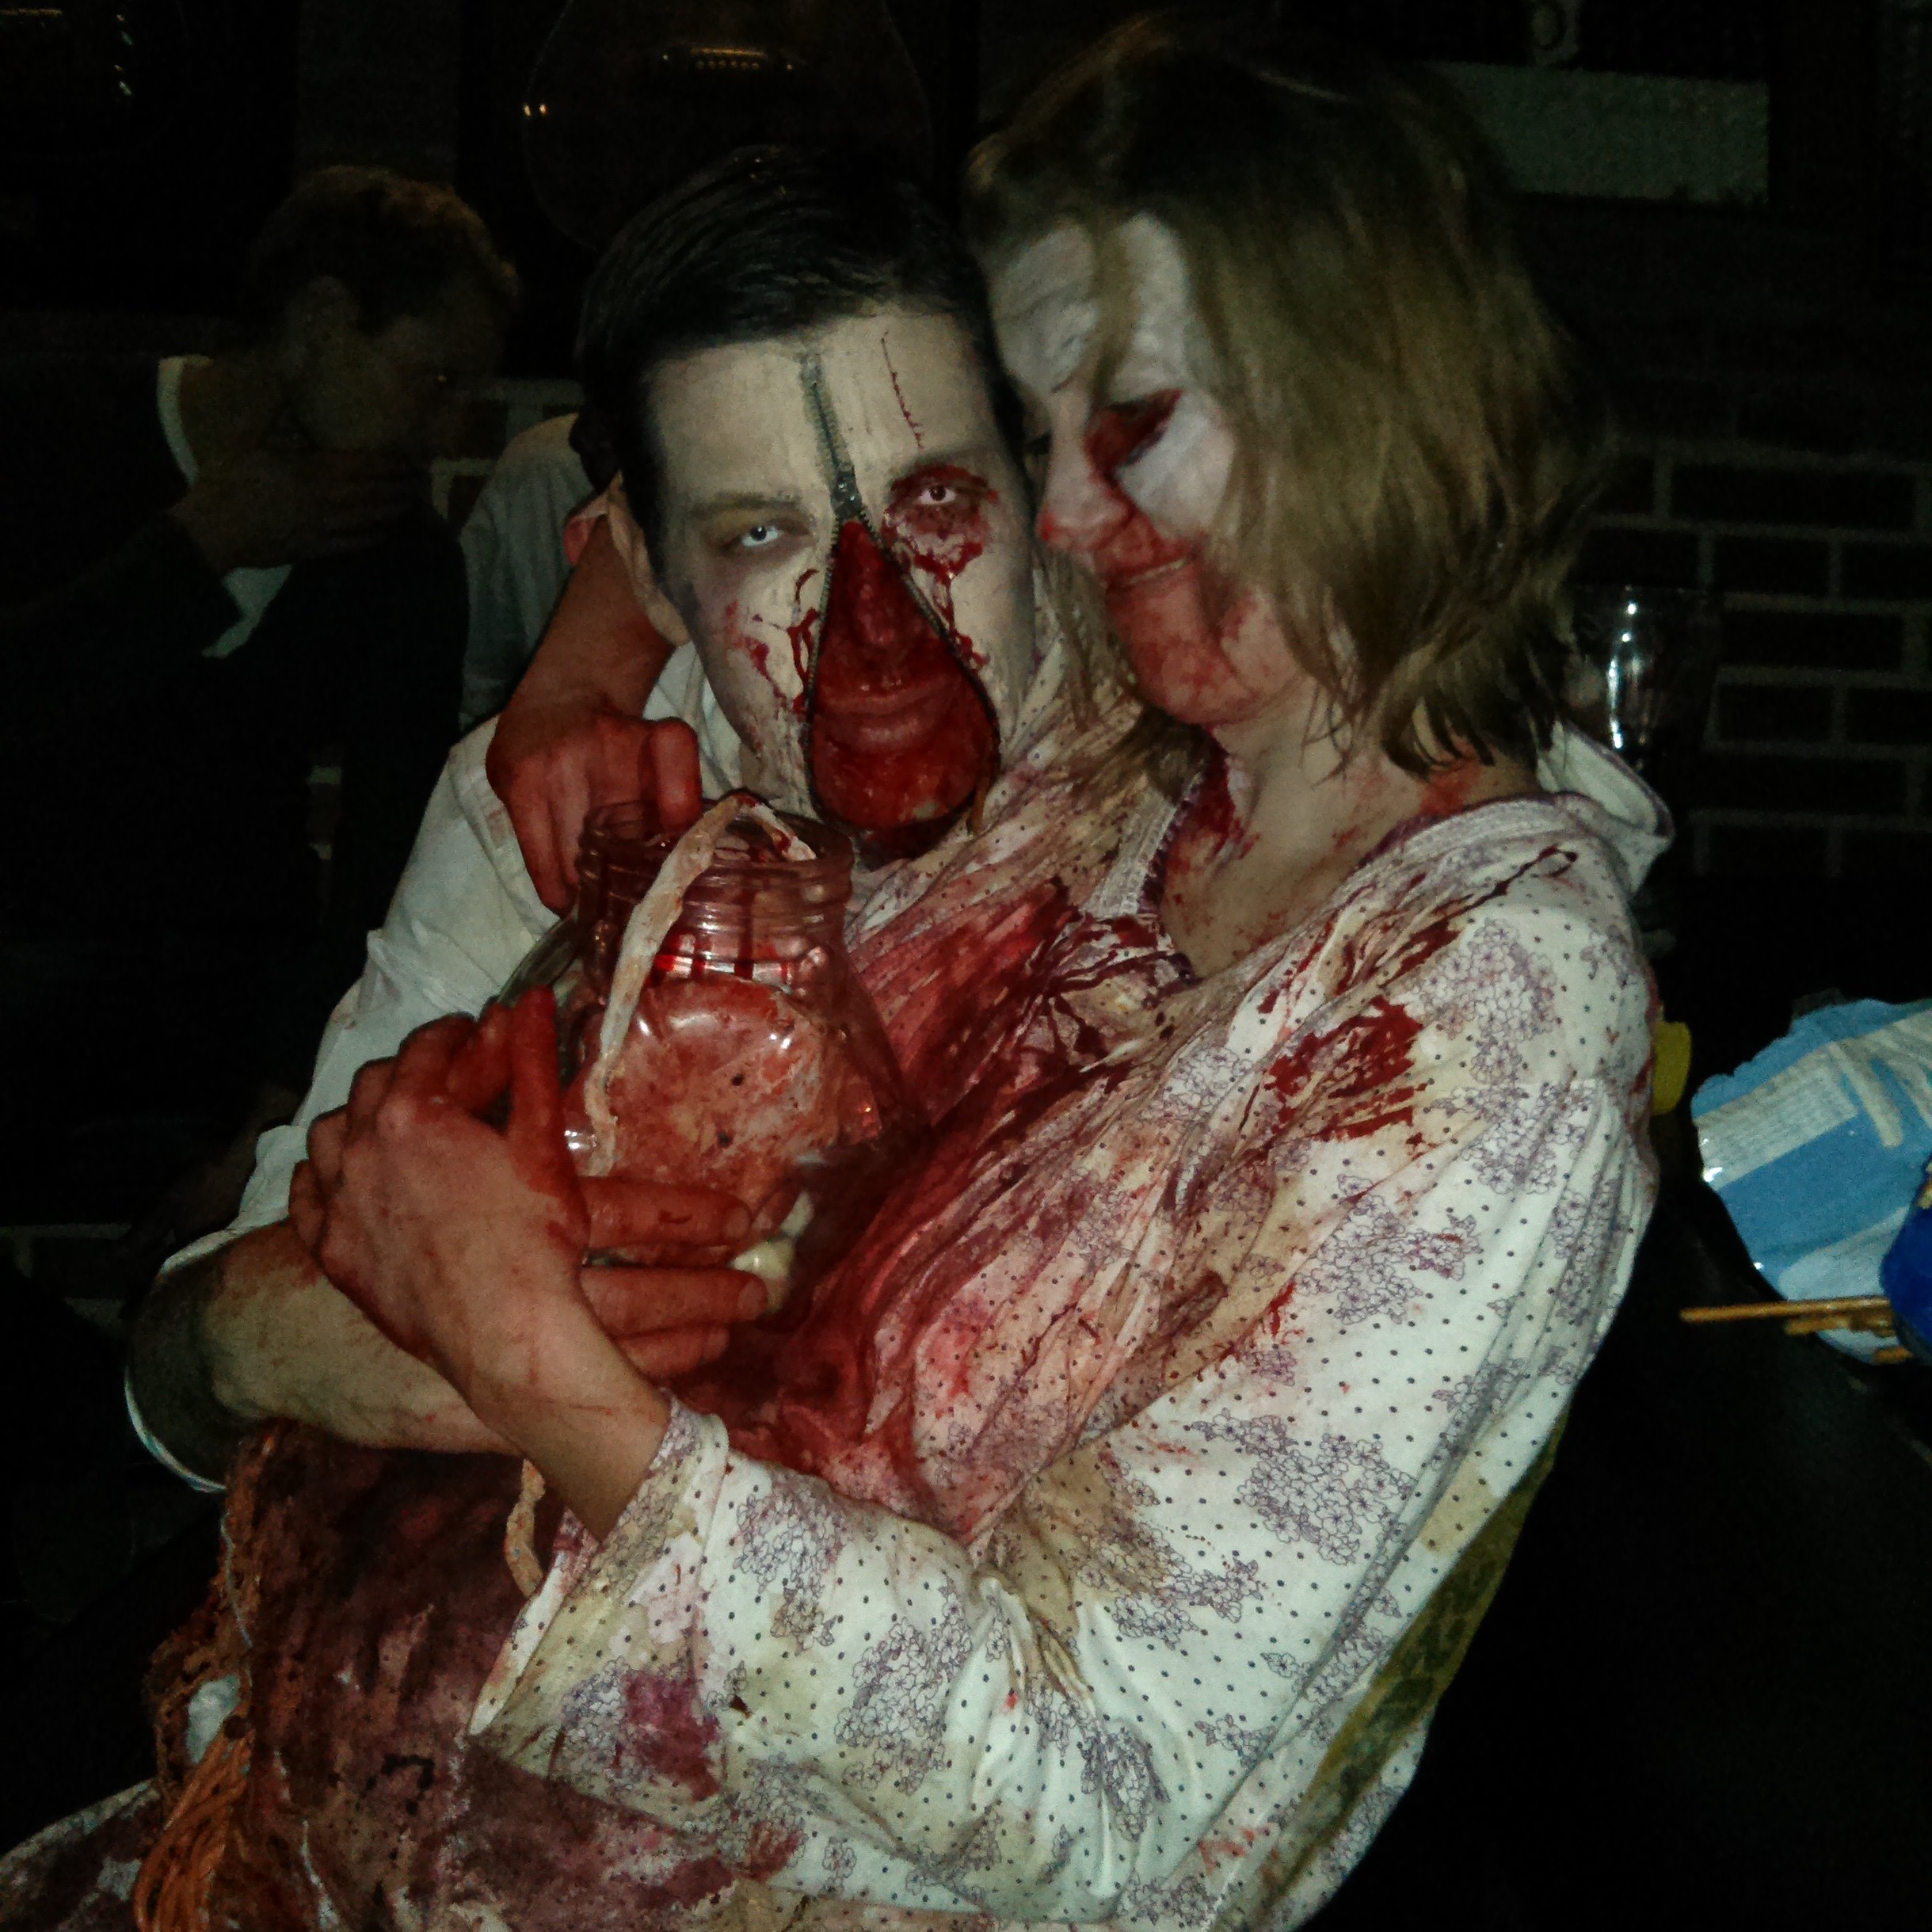
(Yep, smbd at the party sqeezed the babydoll in a glass :D )
Kirk Koczanowski
27 January, 2016 - 06:50
Hi there! Absolutely love the costume. I was hoping to steal your awesome recipe for make a fake umbilical cord. One question. Where can I buy grey and beige silicone?
Please email me if you are even still getting notifications from this page. I know it’s been almost 3 years. Thank you!
tom
29 January, 2016 - 19:29
hi kirk!
glad you like it ;)
feel free to steal whatever you need.
i just bought it at a local hardware store.
i am pretty sure almost any bigger hardware store should have them.
check the sanitary department.
cheers tom
laura
14 October, 2016 - 03:49
How did you keep the paper mache belly in place ? Love the costume !!
tom
14 October, 2016 - 11:02
hey laura!
glad you like it. feel free to copy! :)
the paper mache was just used as a template for the “polyurethane foam”.
the foam-belly was kept in place in 2 ways.
– it was glued (silicone IIRC) to the dress.
– i used a bandage and screwed both ends to the sides of the belly.
the girlfriend could wear it like a belt under the dress.
hope that helps
cheers, tom
Rachel
25 October, 2017 - 20:45
I’m on the polyurethane step… Am I spraying it on the inside or outside? Is it the window and door insulation stuff?
tom
26 October, 2017 - 00:23
Hey Rachel!
If you are asking about the black paint…it’s most important on the inside and a bit on the outside around the hole.
Yes, its the window and door insulation stuff.
https://c.76.my/Malaysia/v-tech-vt-268-pu-foam-750ml-hint4u-1701-23-hint4u@3.jpg
https://sc02.alicdn.com/kf/HTB1ZPHRKXXXXXcpXFXXq6xXFXXXT/Liquid-polyurethane-foam-spray-polyurethane-adhesive-PU.jpg
I hope that helps. If you got any further questions just drop me a message.
Tom
Rachel
26 October, 2017 - 23:05
How did you flatten a side of this?! Maybe I filled it too much…
tom
30 October, 2017 - 17:08
hi!
No you can’t really fill it too much. once the foam is dry you can always cut off as much as you like with almost any bigger kitchen knife. The foam can be cutted real easy once it is fully dried. I used a cutter knife to do so.
cheers
tom